Hey Prompt Entrepreneur,
We now have our product created and need a mechanism to get it out into the world at large.
In this Part we set up our shop so that customers can purchase from us.
eCommerce is a big (very big!) topic area that could take us a lot of time, energy and money. However I’m going to cut to the chase and give you a method to launch your shop in a few hours.
Let’s get started:
Set up shop
1. Get a Gumroad account
First up we need to get a Gumroad account.
You can do so here: https://gumroad.com/
Gumroad is free to use and super simple.
The trade-off is that as their fee they take 10% of every sale. Chunky!
However, for getting started Gumroad is fine. Once you are generating revenue you can justify looking at a different payment solution such as building your own eCom functionality on your website.
Right now though we want speed and simplicity.
Once you’ve set up a free account go ahead and work through the setup checklist. It’s all self-explanatory so I won’t waste your time going through it here.
The only hiccup may be payment processor. This is how Gumroad sends you the money from your sales.
You can either give:
- bank details
- Stripe account
- PayPal account
Personally I prefer Stripe but how you get paid is up to you and will depend on what’s available in your country.
2. Setting up your product
Once you’ve got a live Gumroad account up and running we can start adding products.
In the Products tab hit “New Product” and you’ll get this screen:
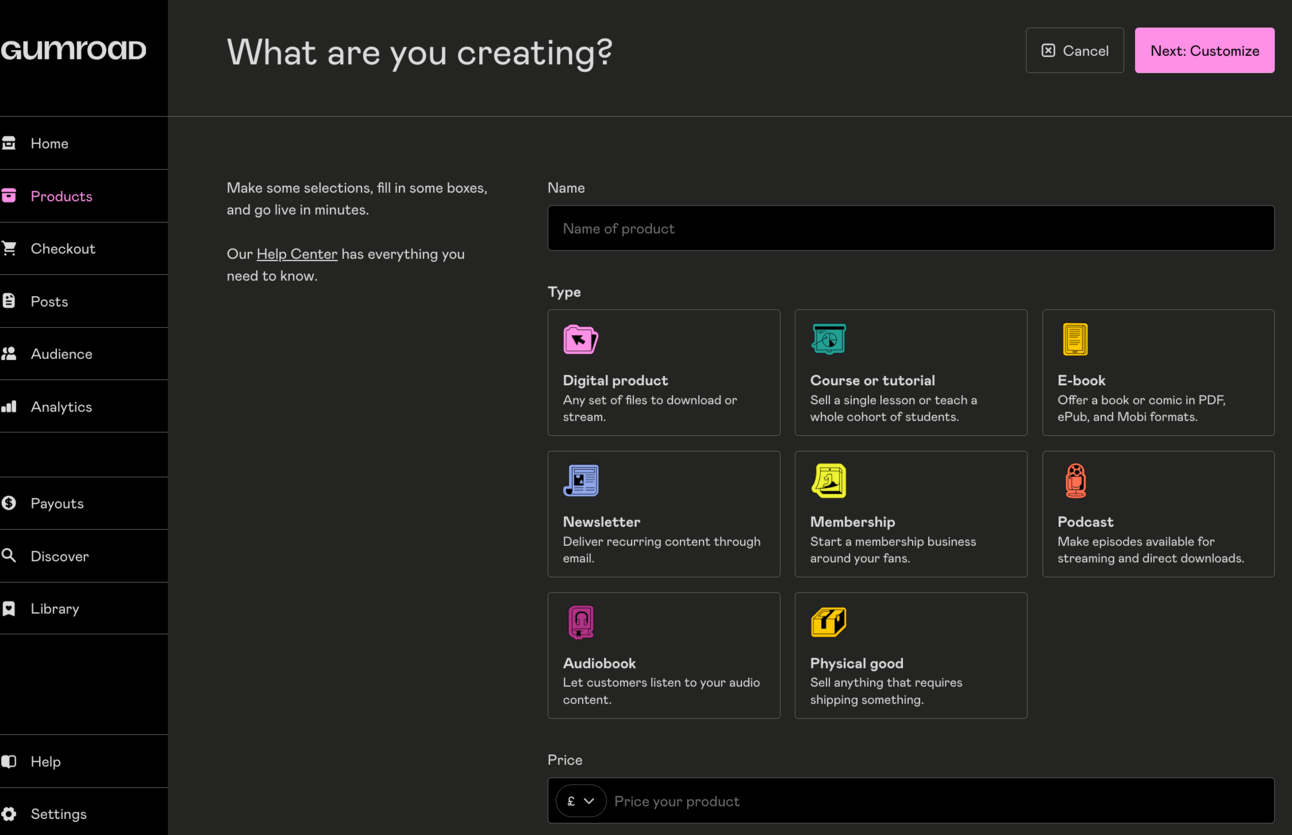
Our product name will be the overall name of the product – not the names of the Tiers.
So in the examples we’ve been using my product name is “AI Bootstrapper’s Bible” and the tiers are:
- AI Bootstrapper’s Basic
- AI Bootstrapper’s Pro
- AI Bootstrapper’s Complete
We’ll add the tiers later. For now product name is just “AI Bootstrapper’s Bible”
You’ll also need to select the type of product.
Most of the time this is going to be Digital Product. Why? Because in the last Part we built our product in Notion – we’re just using Gumroad to sell access to that Notion link. This will be clearer as we move ahead.
For the price set the price of the first tier. In my example the prices were $29, $79, $149. So I just add $29 in this first product setup stage.
To flesh out the product so it’s ready for sale we’ll need:
- Description
- Images
- Contents
The rest of this Part will be mainly concerned with filling in these details with the help of AI.
3. Description
The description is the most important part of our Gumtree product. It’s our main area for getting across what the product is and why people should buy it.
Here is an example page. You’ll see that the description (bottom left, going down the page) takes up a large prominent part of the page:
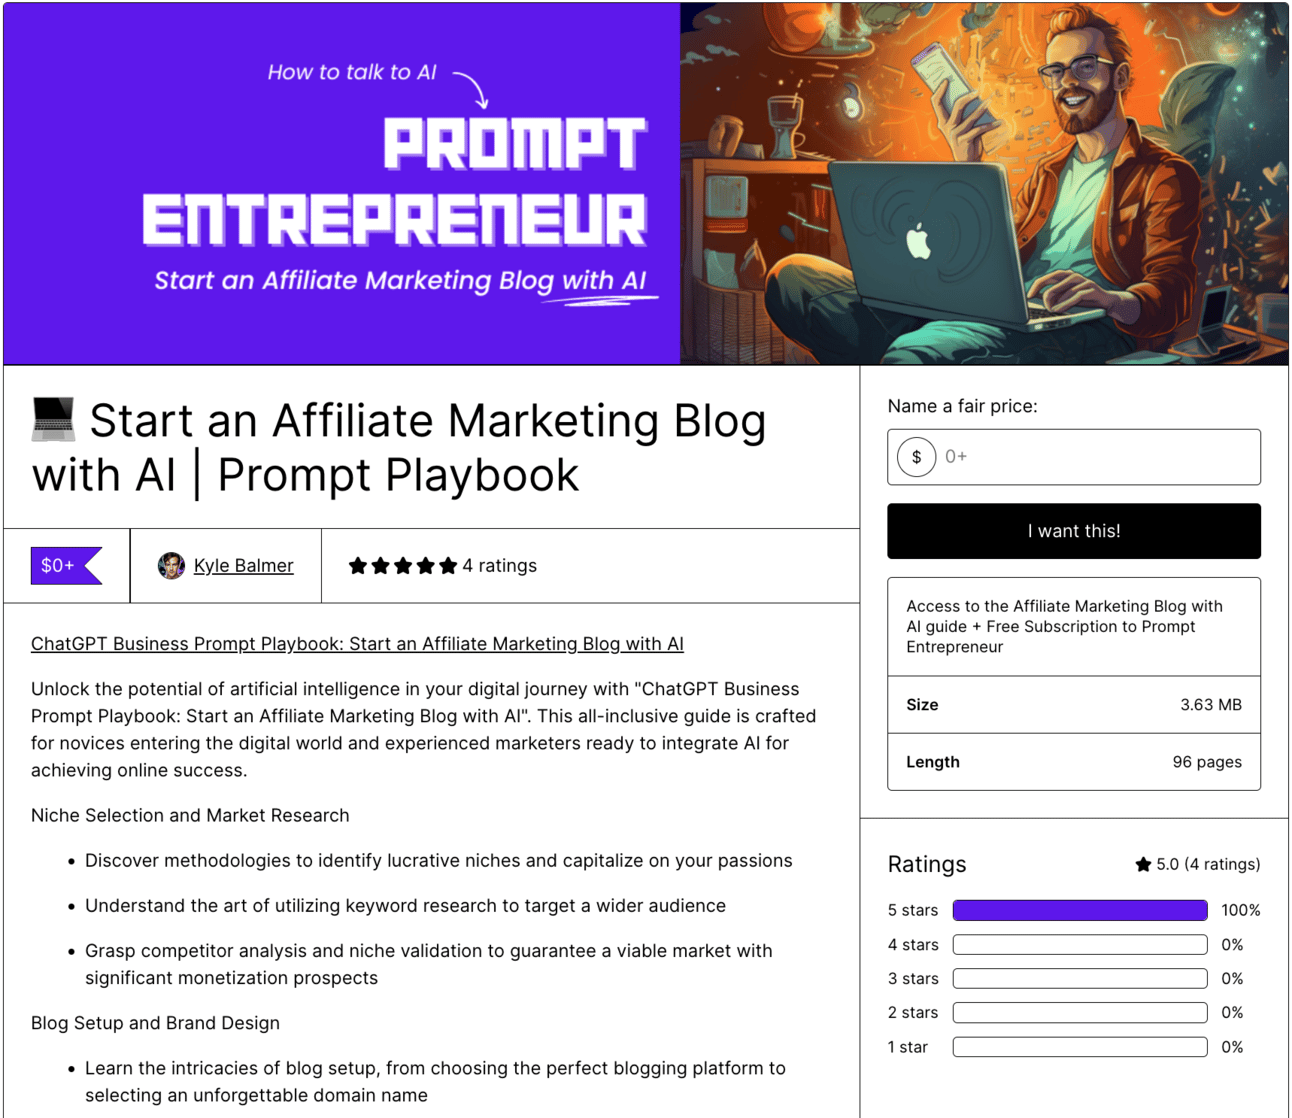
This is where we add our copy to make the sale.
To do so upload your product file into GPT-4’s code advanced data analysis tool or into Claude.ai.
Then use this prompt to extract and draft a description:
Act as an expert copywriter.

Analyse the text of this product and write a description for a product sales page.

Provide a content overview, detailed structure of the content, benefits, features and a call to action.
Do not use these headings - instead write sales copy alternatives for each section.

Mix short sentences and bullet points. Emphasise readability.
💬 Prompt Output
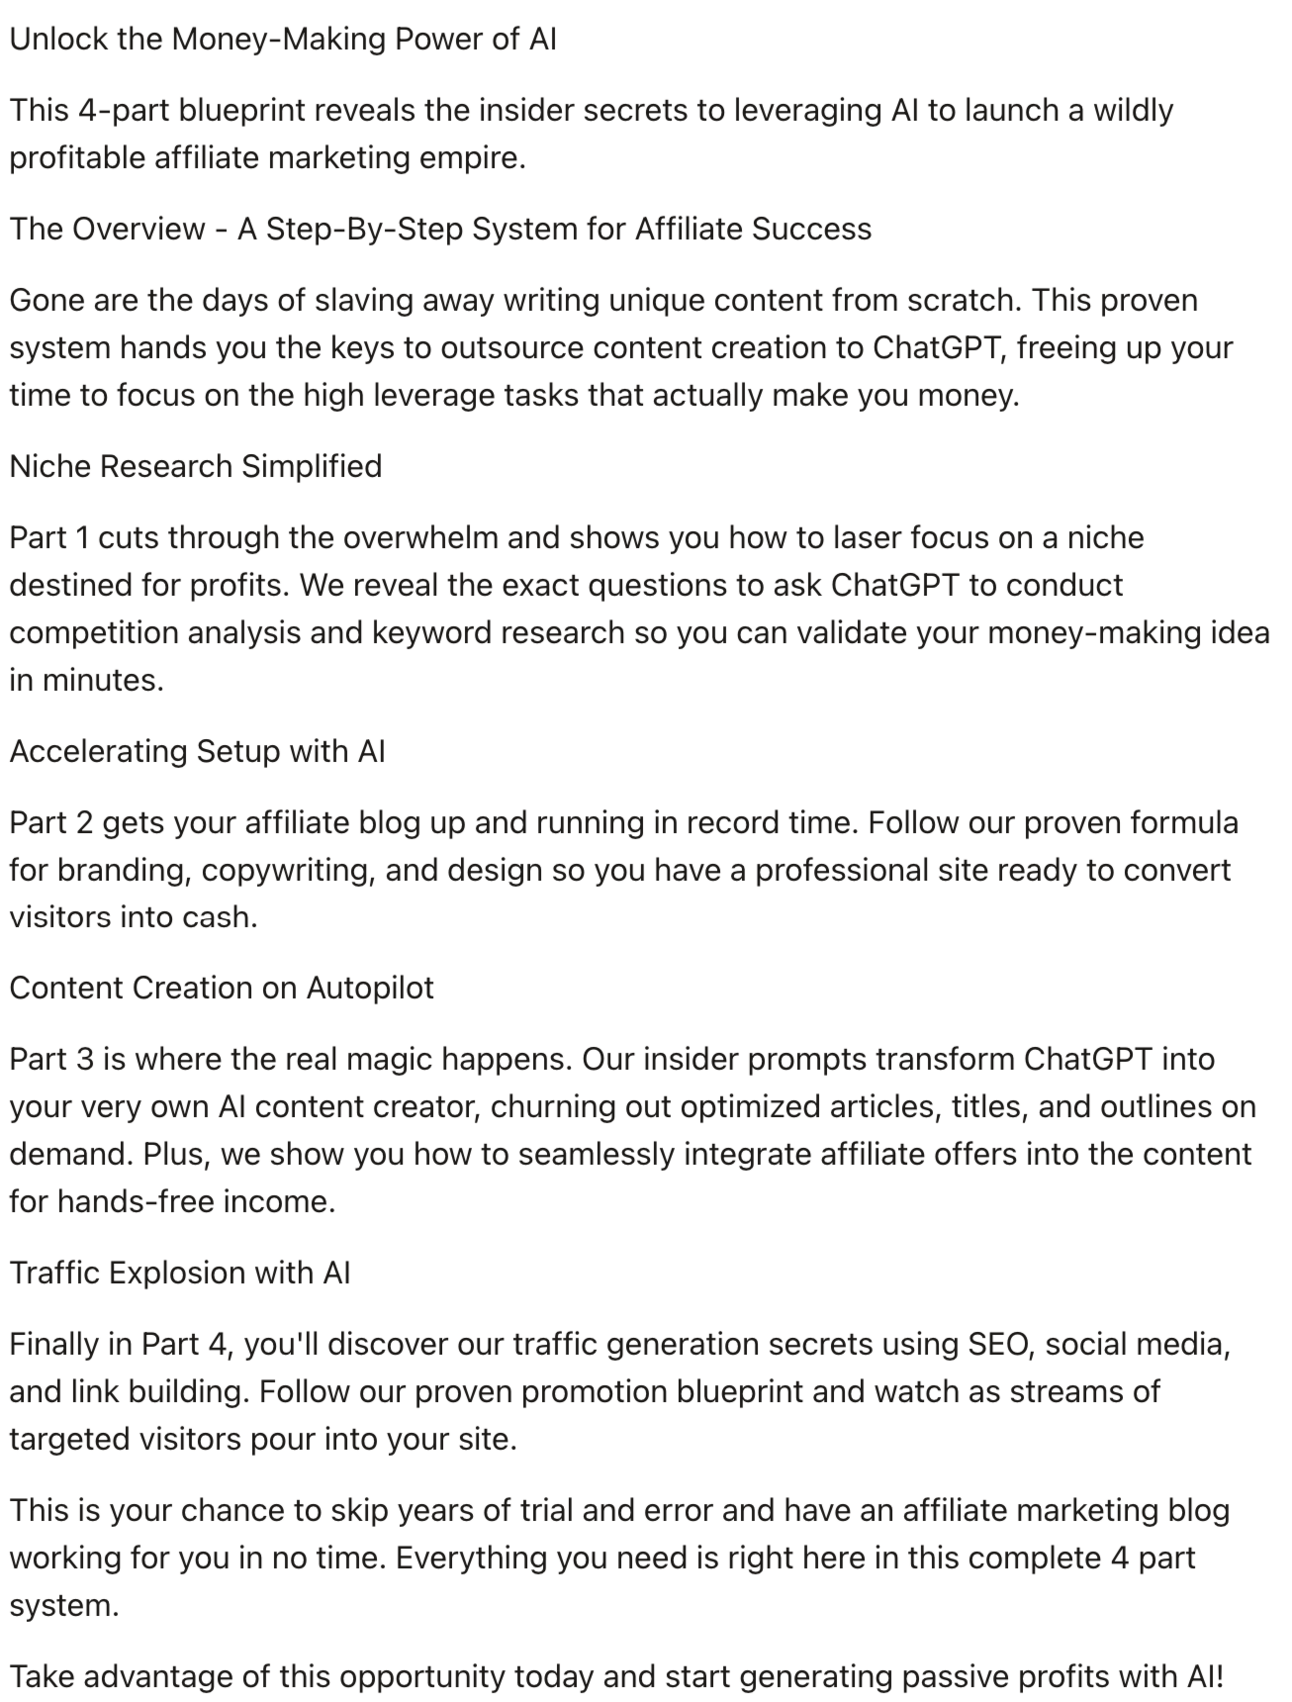
Use the product description as a jumping off point.
Also take advantage of Gumroad’s formatting tool to make headers stand out more.
4. Product Images
We require two images for the product – the cover (header) image and a thumbnail.
The thumbnail is shown on your Gumroad store page and in Gumroad Discover (which is Gumroad’s internal marketplace). We’ll cover Discover in the next Part on marketing.
For the header image I’d recommend using Canva.
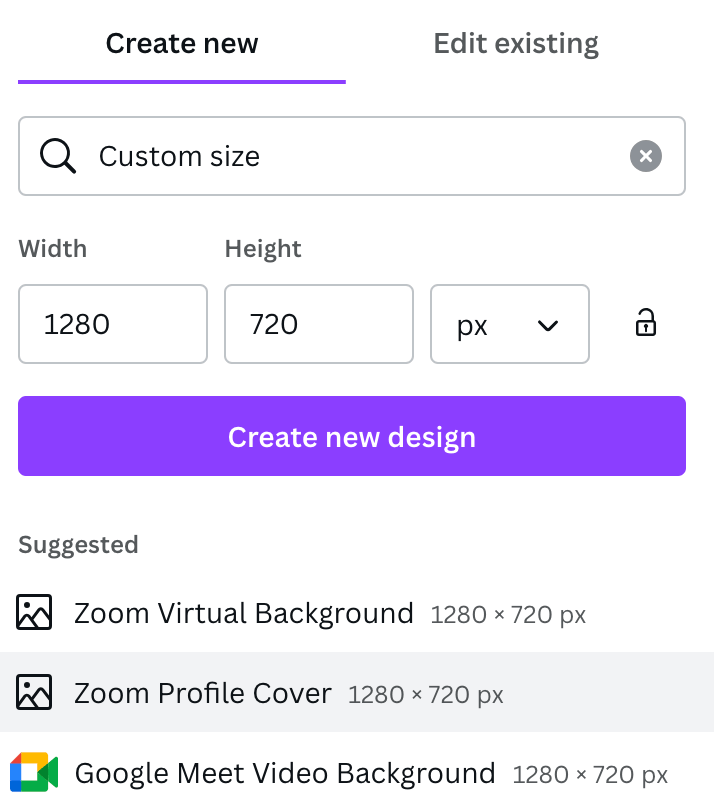
Head to Canva and create a new design. Choose custom size and enter 1280 width x 720 height:
Sadly there are no pre-built Canva templates for Gumroad.
However, if you click Create New Design then Canva will provide lots of templates that it those dimensions:
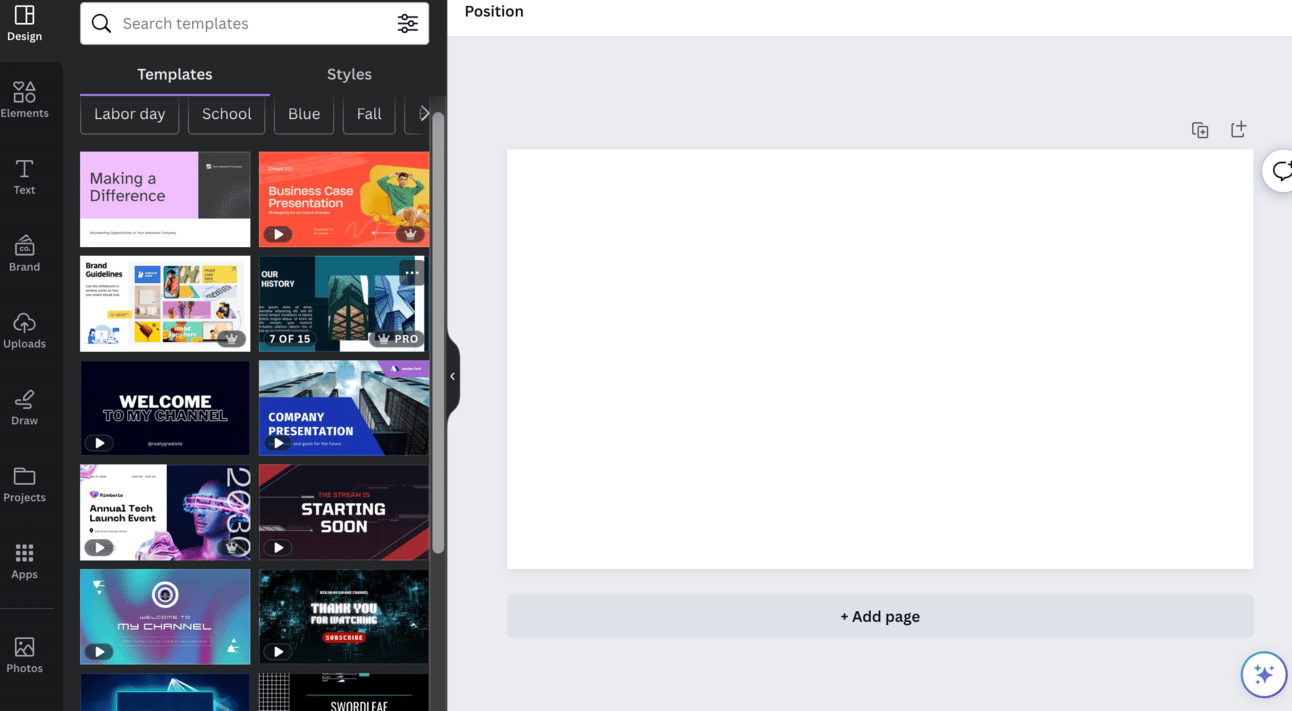
Scroll down the left hand side designs until you find something you like. Edit from there and upload as your product’s cover image.
For the thumbnail we need a square image of 600 × 600. Again we can use Canva or we can use https://ideogram.ai/
Ideogram is good for the thumbnail because it can (unlike most AI image makers) generate text inside an image.
Grab a free account from ideogram.ai and use this prompt structure:
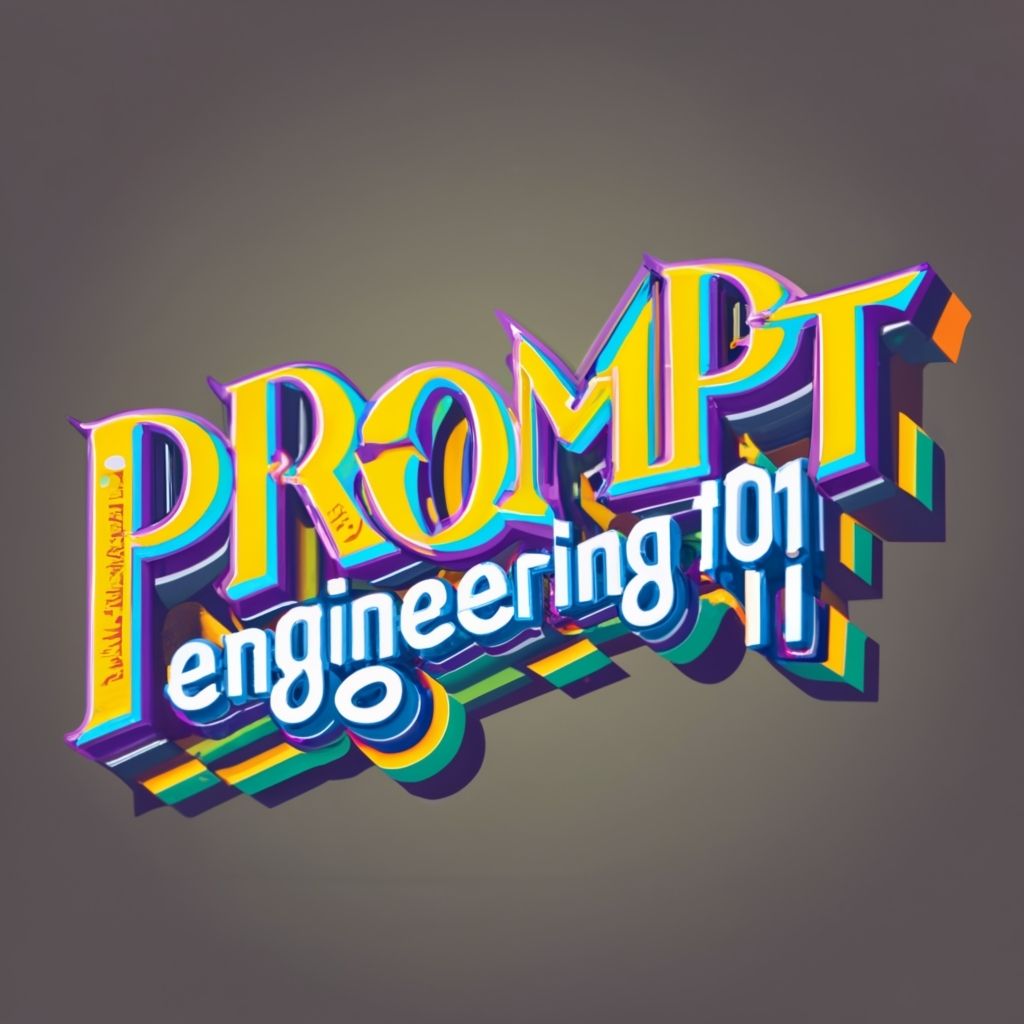
"Product Name" text. Typography. [style details]Make sure that the name of your product is in “ “.
Then add any style details you want at the end of the prompt.
💬 Prompt Output
This example use text = “Prompt Engineering 101” and then “Three dimensional lettering. Neon” for the [style].
5. Product contents
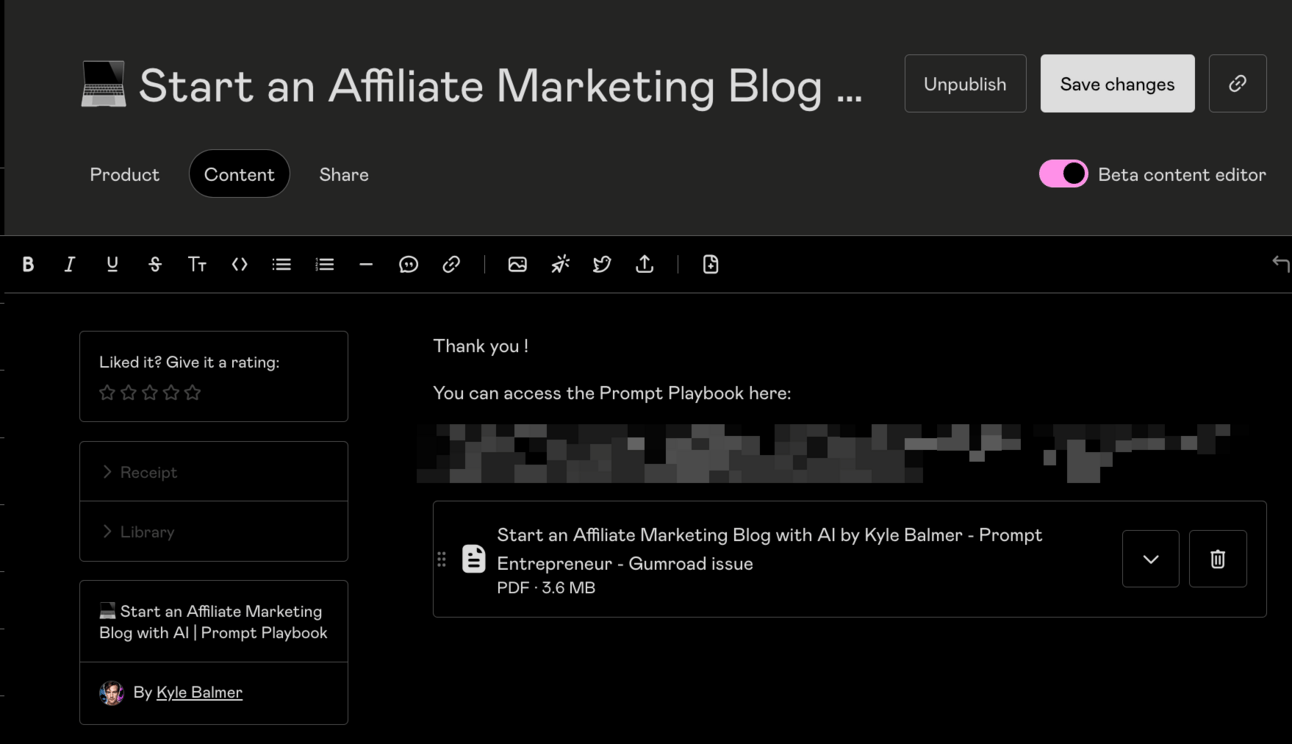
The next tab in Gumroad is for the actual product contents that are unlocked when the customer makes a purchase.
You can keep this nice and simple because we built our product in Notion previously.
All we do is have a basic welcome and thank you message followed by the link to the Notion.
6. Stacking tiers
Our product is now ready to be launched.
However, what about the tiers inside the product?
We’ve currently set the product up as only the lowest tier.
Remember that the idea here is to test reaction to the basic product and if it is selling well with customers we go ahead and develop the rest of the tiers.
This is to save us from too much upfront work with an uncertain reward.
We’re ready to go with just this lowest tier product – we can launch.
Alternatively we can add the other tiers and make them unavailable for now.
To do this navigate back to the Product tab and scroll down to find Versions.
Add versions for each of your tiers. Use your tier names for each new version. For the description in each add the additional items they’ll receive. And finally add the additional cost of the tier compared to the base price.
For instance if the base price of tier 1 is $29 and tier 2 is $79 then set the additional amount to $50.
Here’s the important part – set the quantity to 0.
This will make it so the details of the higher tiers are visible but no-one can purchase them. This builds FOMO – why can’t I get the best version?
To make this even more valuable scroll up to Product Info > Summary and add a line like “Premium version waitlist is now open. Email xxx@company.com to be notified when the doors open”
Pulling it together
Gumroad makes it extremely simple to launch a product.
If we were using another system then I certainly wouldn’t have been able to explain all of this in a single Part!
Remember the main thing is speed – we want to launch products and see what works best. So don’t get too caught up here. Keep momentum and moving forward.
In the next Part we’re going to open the doors and start making sales.
A reminder of this week:
Part 1: Plan your digital product
Part 2: Build your digital product
Part 3: Set up shop
Part 4: Market your digital product
Part 5: Expanding your product range
