Hey Prompt Entrepreneur,
We now have our book manuscript in hand. Or at least we’re working through it!
In this Part I’ll cover the publishing process. Amazon have made it relatively painless but I’ll still show you have to make it even easier with AI.
Let’s get started:
Publish your book
1. Basic details
First up we need to get a Kindle Direct Publishing account.
You can use your Amazon account to log in. Just head to https://kdp.amazon.com/ and follow the registration process until you get through to the Dashboard.
It looks like this:
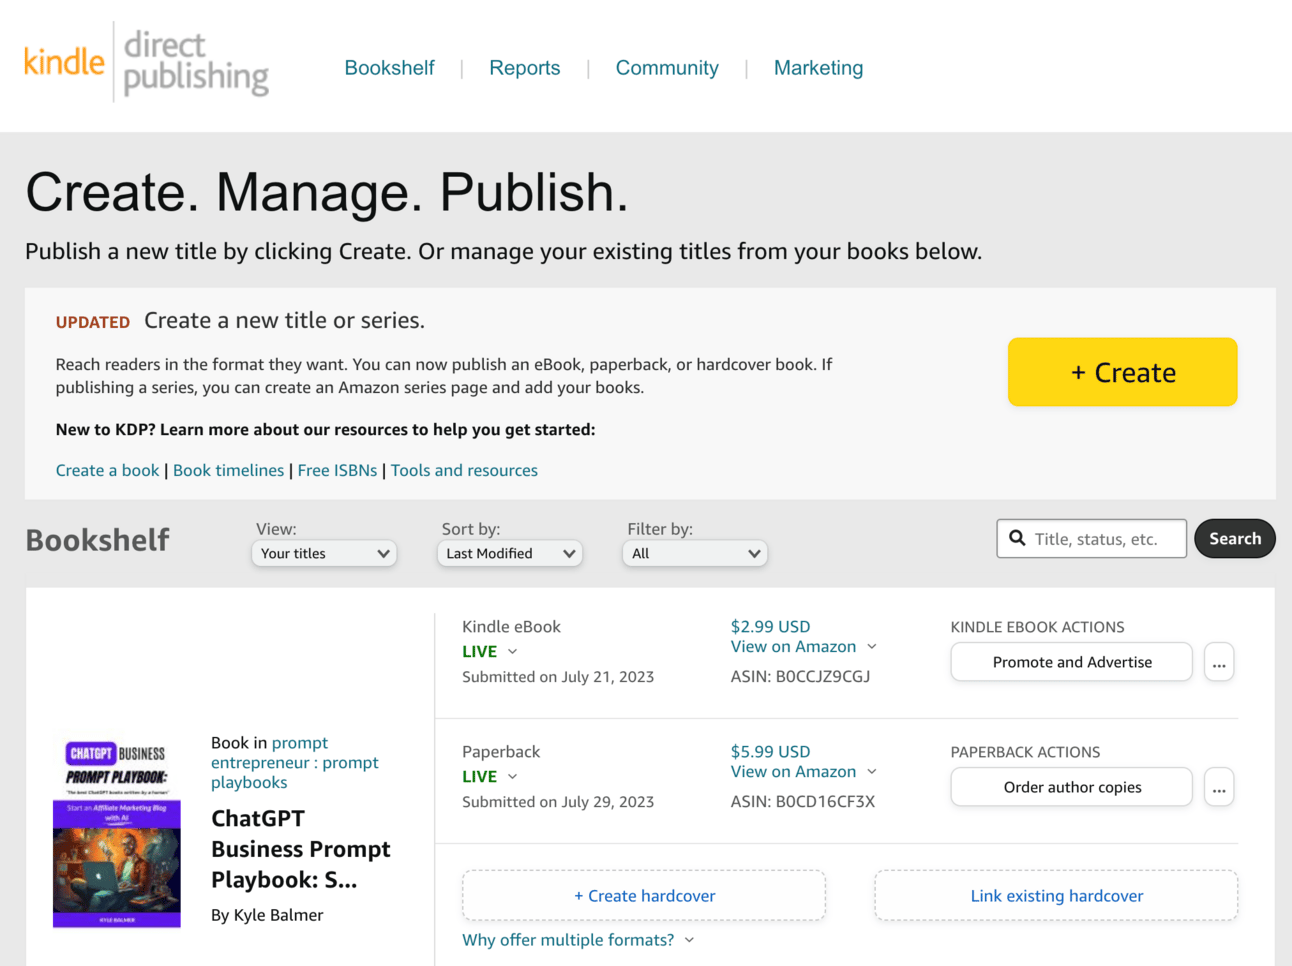
Here you’ll be able to see all your exiting books and edit their details. Once you start making sales you can also see sales results in the Reports tab at the top of the screen.
For now though we want to go ahead and create a new book. We do that by, you guessed it, hitting the huge yellow +Create button. You’ll next see this screen:
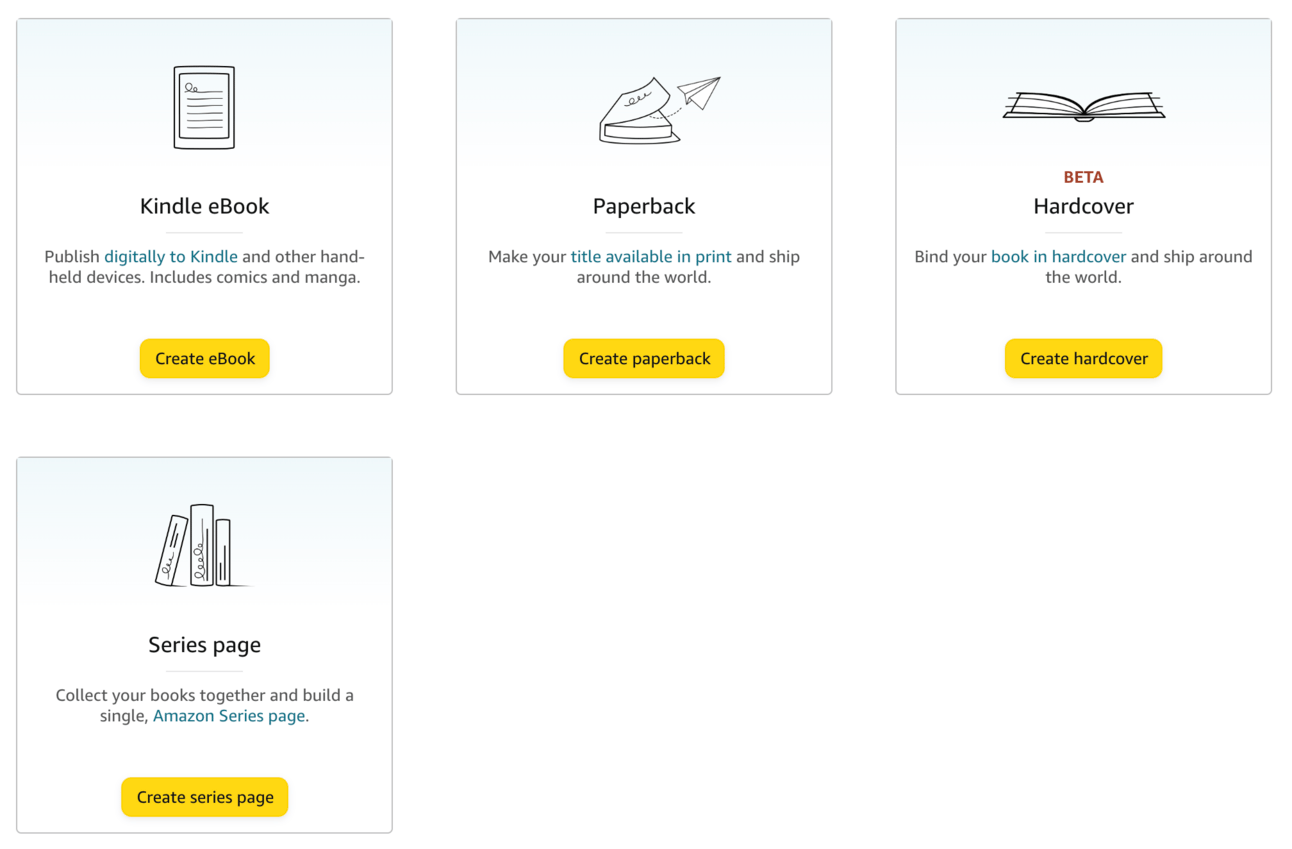
Go ahead and click Create eBook. Once you have sorted out your eBook Kindle version you can look at producing a Paperback version.
Be aware though that creating a paperback is more complex. Without getting stuck in the weeds here the basic difference is that a printed paperback has to be formatted so that every page is designed – you need to make sure paragraphs and headings don’t get weirdly cut off by the page turn.
This is not the case with an eBook which is more “fluid”. Because Kindles allow the reader to adjust their font size what words are on the page will be different for different readers. So we don’t have to worry about designing each page because Kindle will override that formatting anyway!
Now you’ll be in the main book creation interface. There are three main steps:

First up in details we have title and description.
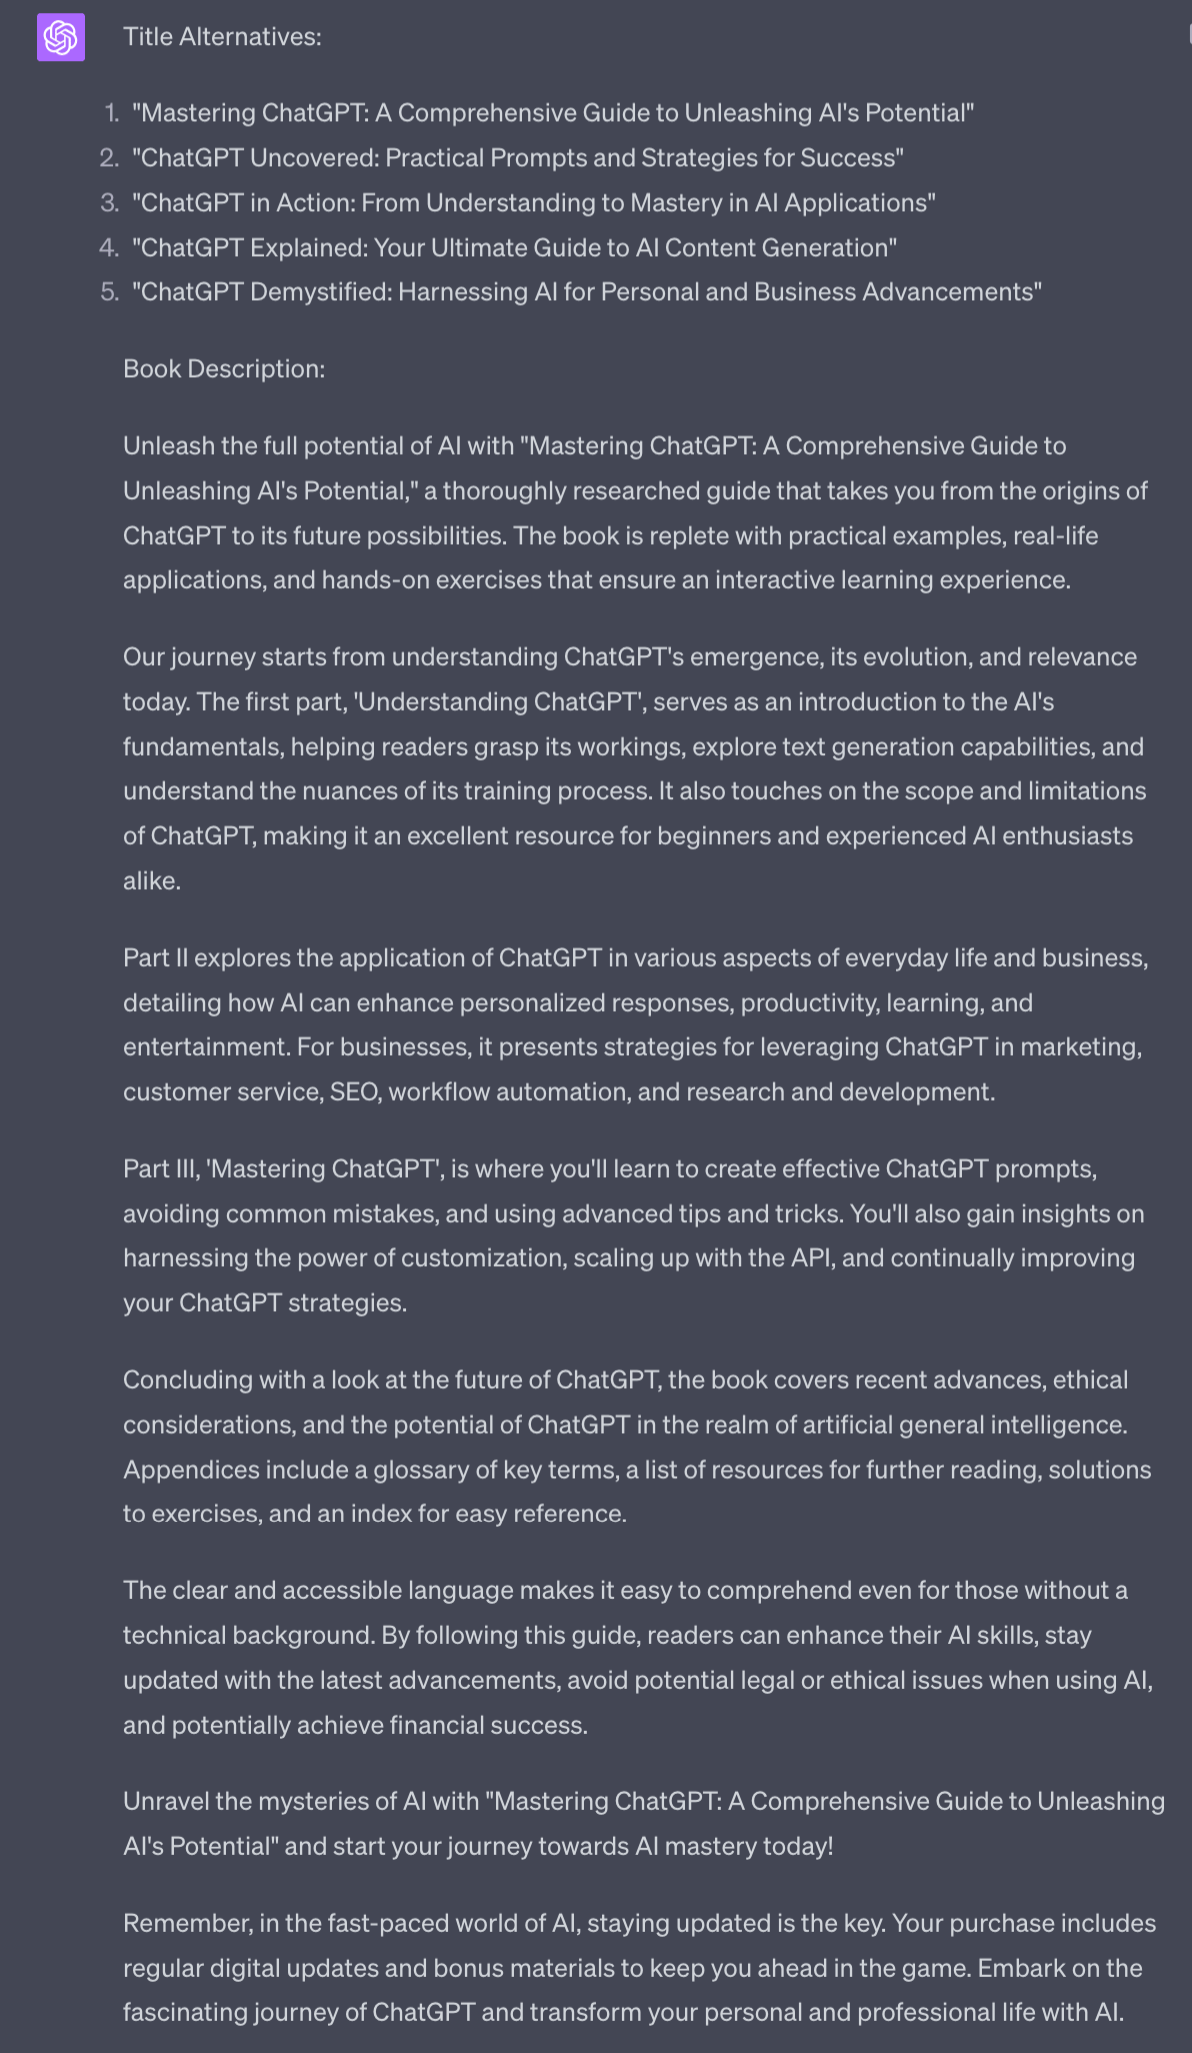
You may already have a title from the previous steps but we’ll use this prompt to generate some variations.
Act as an Amazon SEO expert.

Prepare 5 SEO optimised and eye-catching title alternatives

And a book description of 4000 characters.

For my book about [Category]

Keywords to include are [3 Amazon keywords]

Include the structure of the book, adding benefits of each chapter

#begin book structure#
[Copy paste book structure]
#end book structure#

Use these guidelines when structuring the book description, especially the benefits for the reader and positive comparisons of this book to others.


#Begin guidelines#
[Copy paste best practices and review feedback guidelines]
#End guidelines#
Use information from previous Parts to flesh out this prompt.
For the guidelines make sure to use both the best practices and the review feedback from Part 2.1 and Part 2.2
Prompt Output 💬
2. Primary Market, Keyword and Category
Lower down in the basic details we fill in more information that will help us get discovered on Amazon:
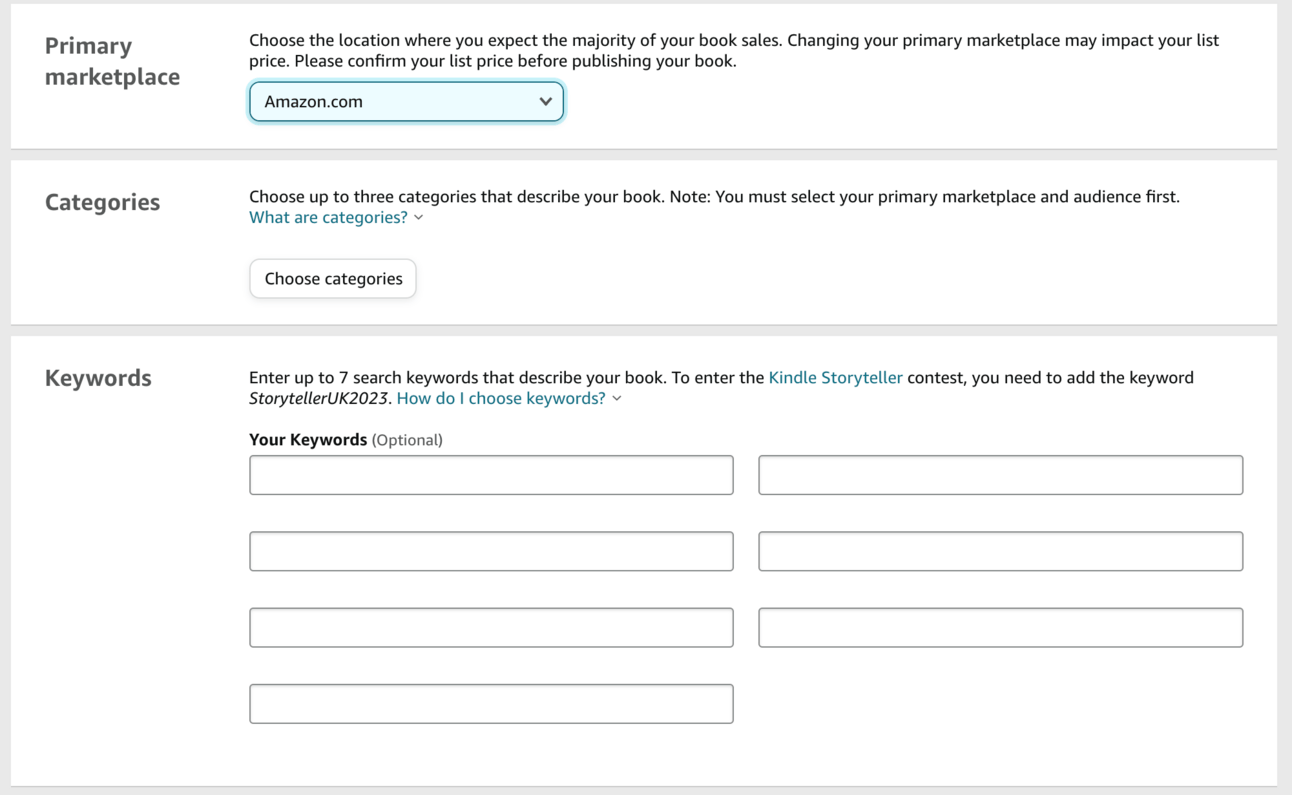
First up set your primary Marketplace to Amazon.com, the US Amazon. This will ensure widest reach. You’ll also be publishing on all the local Amazons but we want to optimise for the largest in the next step where we choose Category.
For category you should already know your primary category from the research process we conducted in Part 1. We’ve been using it as our “Topic” during this process. Go ahead and put it in.
Notice though we have 2 more spaces for category: we can have up to 3. Make sure to use all three!
For numbers 2 and 3 go with your runners-up from the research process in Part 1. We optimised for one throughout the planning and writing process but these additional categories should be close enough to also be valuable to rank in.
If in doubt go for a very niche one, even if the sales volume is low. Why? This will make it more likely that you will hit #1 and can call the book an #1 Amazon book!
For the Keywords you should already have a handful from the research process in Part 1 where we used external tools to check which are popular.
If you need additional keywords use this prompt under the Description you generated in the last step:
Act as an Amazon SEO expert

Analyse this book description

Provide potential Amazon keywords, ranked by effectiveness.
Prompt Output 💬
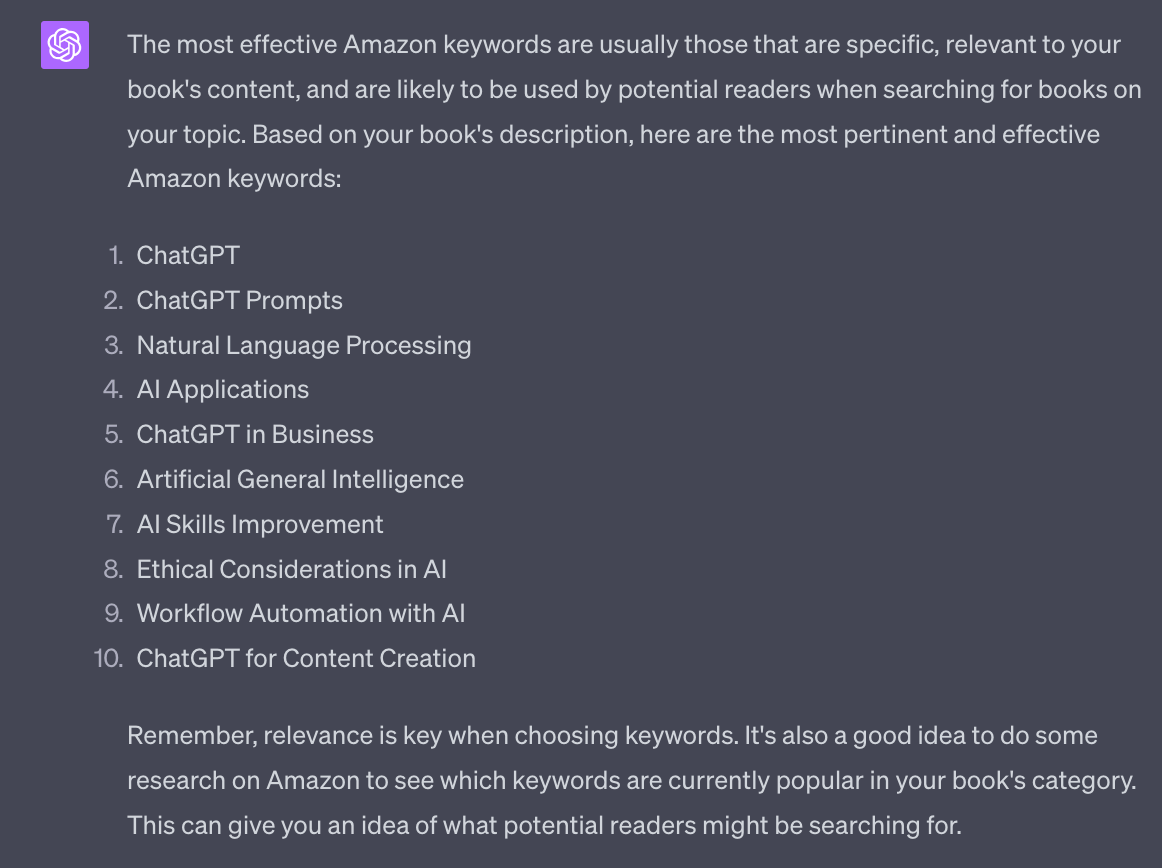
ChatGPT doesn’t have access to real time data but will give good relevant keywords. For example of these I know ChatGPT and ChatGPT Prompts are two of the top keywords.
3. Formatting and Uploading Manuscript
Next up the actual book manuscript.
We can use the free Amazon tool Kindle Create. It’s available to download for Mac/PC here https://www.amazon.com/Kindle-Create
This is a desktop programme that allows us to format a manuscript.
It accepts Word, Google Doc and Pages documents.
So what we want to do is Copy / Paste everything from Notion into one of these formats.
If you have Mac I highly suggest using Pages as Kindle Create imports Pages files perfectly. Otherwise Word or Google Doc .doc work fine.
Once you’ve copy/pasted everything from Notion to your Word processor go through and check Titles, Headers and general formatting. Then import the document into Kindle Create.
It’s a nice easy to use tool so rather than me waste time walking you through every step I’ll point you to the excellent Kindle Create tutorial here https://kdp.amazon.com/en_US/help/topic/GYVL2CASGU9ACFVU
You can also find cost effective Kindle formatting gigs on Fiverr – a quick check shows gigs for under $10. Highly recommended if you want to skip this step.
4. Bookcover
Creating a cover for Kindle is nice and simple as it’s primarily just the front image.
Paperback covers are complex because it’s one image that includes front cover, back cover and spine – all with a space for the barcode that will be added.
We’ll focus on a Kindle cover for now – just know that the basic steps for paper are similar.
We have 3 choices here.
We can use Amazon’s cover creator. Its built into the KDP system and allows you to upload an image and overlay the title and author text over the top. It’s functional but doesn’t look professional.
Second, we can hire someone on Fiverr or Upwork. There are many people offering book cover services at reasonable prices. Just make sure to check their portfolios to find someone who’s work you like.
Third, we can use Canva. This is my suggested method. Head to https://www.canva.com/create/book-covers/ to get started.
Canva has hundreds (potentially thousands?) of templates. Most are free but some will only be available to Canva Pro subscribers.
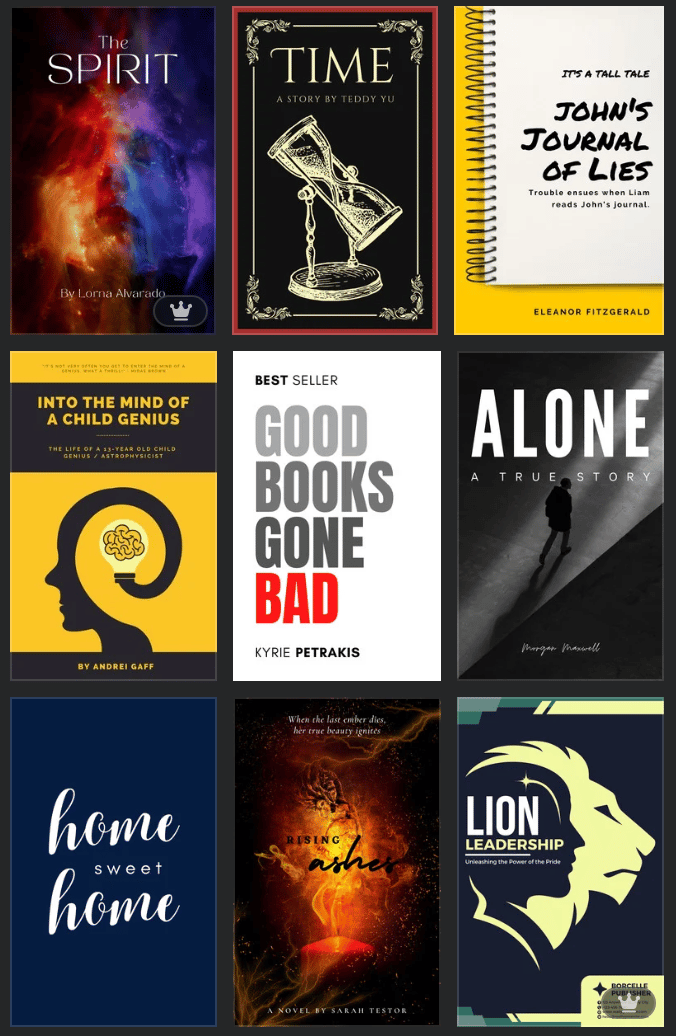
You simply select a template and then can edit by clicking on the element you want to change. The templates also have back covers which makes generating a paperback cover much simpler.
Go ahead and use Canva (or whichever method) to create your cover. Make sure that the export file is TIFF or JPEG and at least the dimensions 2560 height × 1600 width. Canva templates are automatically in the correct dimensions.
4. Pricing
The final step before publishing is to set a price.
Your target price should be similar to what your competitors in the category are charging.
However, early on you want to come in at a lower price to help secure the first sales and reviews. The minimum price is $0.99 which will help us gain momentum.
However, be aware of Kindle’s pricing scheme.
If a book is $0.99 (the minimum) you will only get paid 35% royalty on a sale. Once it’s above $2.99 you will get 70% royalty.
For launch though, got for $0.99. I’ll talk tomorrow about why this is when we discuss launch strategy and promotion.
Right now you just need a price set so that the book can go to be reviewed.
Pulling it together
When you are happy with all the details go ahead and publish. This will lock off the books from edits so make sure you are happy!
The review process is meant to take a couple of days but it can be up to 10 business days. Unfortunately you don’t really know – it will suddenly just be live one day so make sure you keep checking in!
In the meantime we’ll prep up everything for launch. That’s covered in the next, and final, Part of this guide.
A reminder of this week:
Part 1: Decide your book topic
Part 2: Plan your book
Part 3: Write your book
Part 4: Publish your book
Part 5: Market your book
