Hey Prompt Entrepreneur,
In the last Part we ended up with a list of different digital products that we can stack together into tiered packages.
In this Part we’ll get into the actual production of the digital products.
We’ll be using ChatGPT for structuring our work but I still recommend using your human knowledge, skills and writing ability to make something unique and valuable to our customers.
Remember this is tier 1 – the lowest cost, lowest sales friction products. We want these products to shine so that customers will want more!
Let’s get started:
Build your digital product
1. Structure
First we’re going to use ChatGPT to flesh out the products in tier 1.
Here’s a quick reminder of what our example tier 1 looks like:

This particular digital product has 3 components – an eBook and two templates.
Your components will be different depending on your inputs in the prior Part. And of course feel free to edit and adjust what you get from ChatGPT – it works for you, not the other way around.
We are going to focus on one component (the eBook) in one tier (tier 1) in this Part. But the steps we walk through now will be relevant to all the different components, across all tiers.
Here’s a prompt to begin:
Act as an expert in the [topic] niche.

Create a [component type] structure for a product called [name of component] that is about [description].

The target audience has these problems that you should focus on solving: [problem areas]

The output should be short and digestible in one sitting and packed with actionable value for the reader.

Provide the outline along with descriptions of each element.
Draw the inputs from step 3 of Part 1 of this Playbook. For instance I’m using:
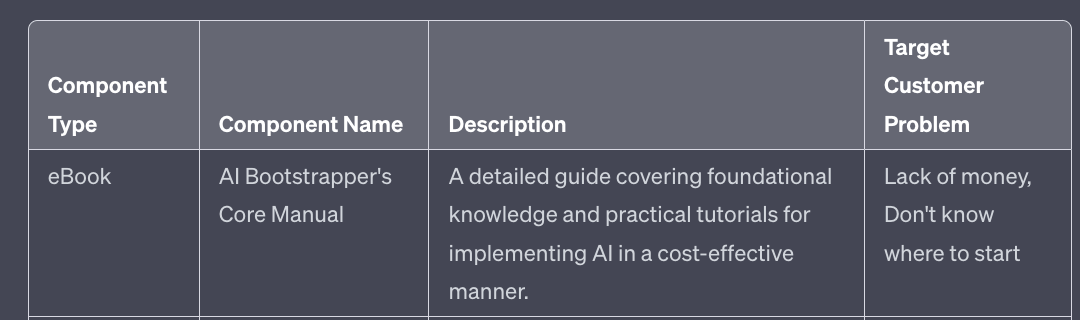
Prompt Output
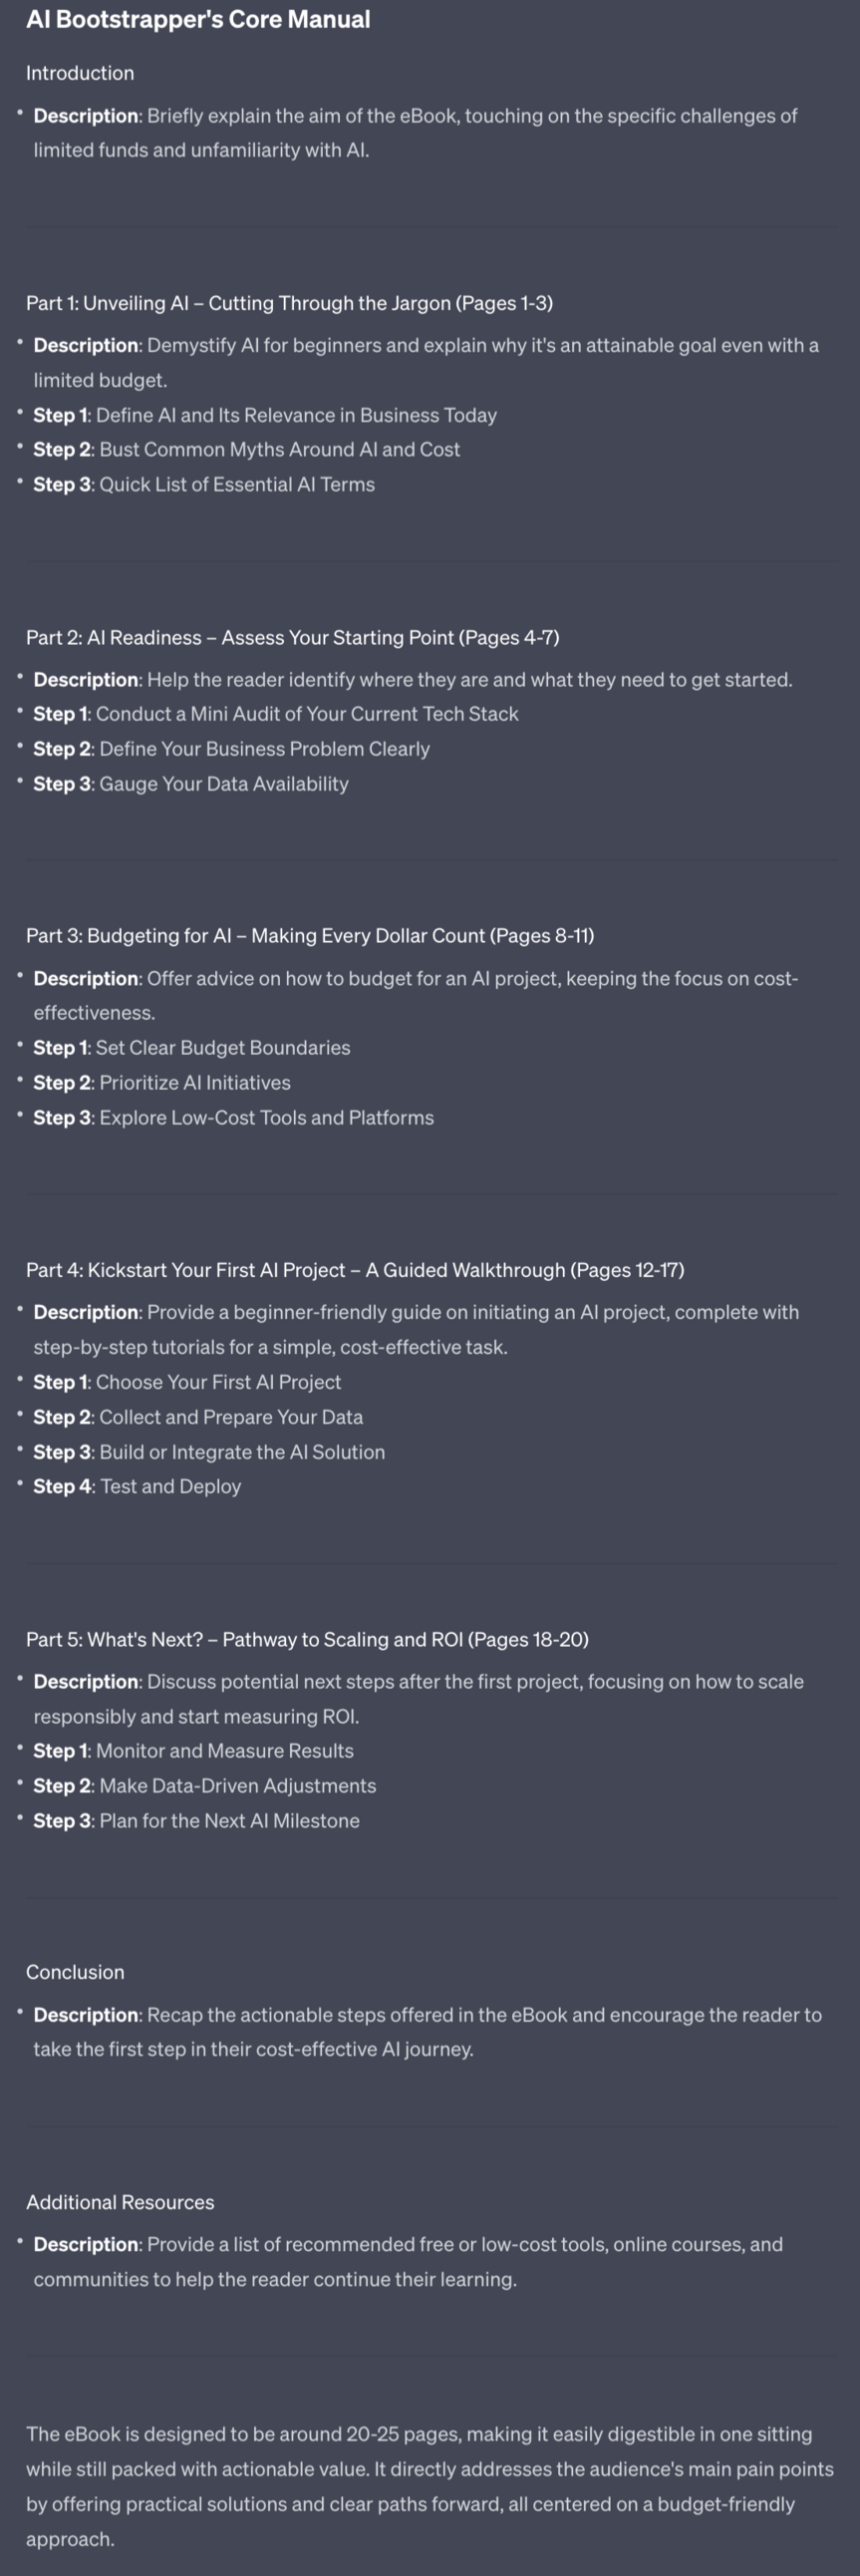
ChatGPT now structures the whole short eBook for me.
Notice I specified that the product should be digestible in one sitting – this ensures that whatever the prompt produces it’ll be short and concise.
We do not want our first product to be a 300 page eBook. Why? No-one will actually read it! Make it a short consumable guide instead.
Instead we want to keep earlier products short, easier to consume and value heavy. Later, in Part 5, we’ll look at weightier products that we can sell to customers down the line.
And if you want to specifically write an eBook there’s a whole Prompt Playbook about that: Kindle Publishing with AI.
2. Writing
Go ahead and edit your outline based on your own expertise.
Once you are happy with the basic shape of the product we can get ChatGPT to flesh out the content. For this particular task I’d actually recommend Claude as it tends to produce better written content – if you have access try to both and see which generates better results for you.
Under the existing outputted structure use this simple prompt:
Act as an expert writer in the niche: [topic]

Using the outline above provide me with a full version of Part [#]

Provide sufficient detail to fill the suggested page count.

Focus on readability and making the advice actionable.
Prompt Output
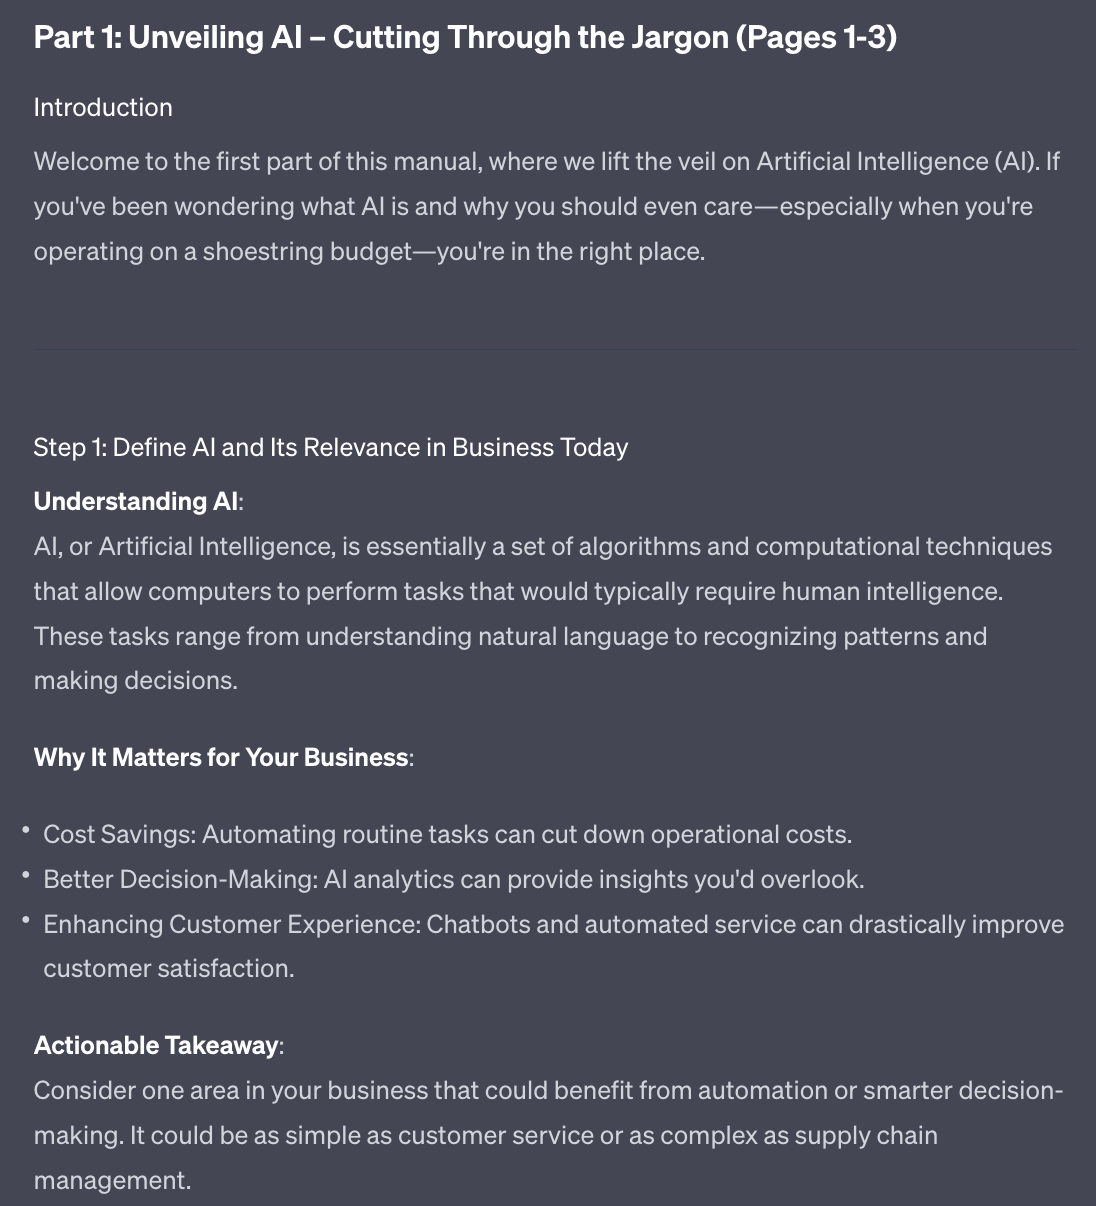
This is just step 1 of Part 1 – the full output was much longer and I’ve shortened for brevity.
Continue to generate your full text, part by part.
The reason for doing individual parts of the text is that ChatGPT struggles with longer outputs and will tend to truncate results. Otherwise we could just say “generate the whole thing”!
The output will be full of structured headings that borrow from the prompts – for example in the above “actionable takeaway” comes from the fact that I specified the output should be actionable. You will likely want to change these to something more natural.
As with all AI writing make sure to rewrite. Consider this a first draft for you to start working from – not the final draft ready to publish!
Speaking of publishing – how do we capture all this information into a product?
3. Notion
You can package up your products in a number of ways – putting them on a membership site, making them into PDFs, epub, .doc files etc.
There’s a huge potential range of options. What I’ll be showing you is the way I personally do it and also what I think is the simplest and easiest method.
I say this as someone who has deployed full eCommerce solutions – doing so would be overkill. We need something fast and lightweight.
Once you are making sales you can look at other formats and sales methods. Right now keep it simple and maintain momentum.
We’re going to build our products in Notion and publish using Gumroad. I’ll cover Gumroad tomorrow. For now let’s get started with Notion.
Here is an example of what a Notion product will look like:
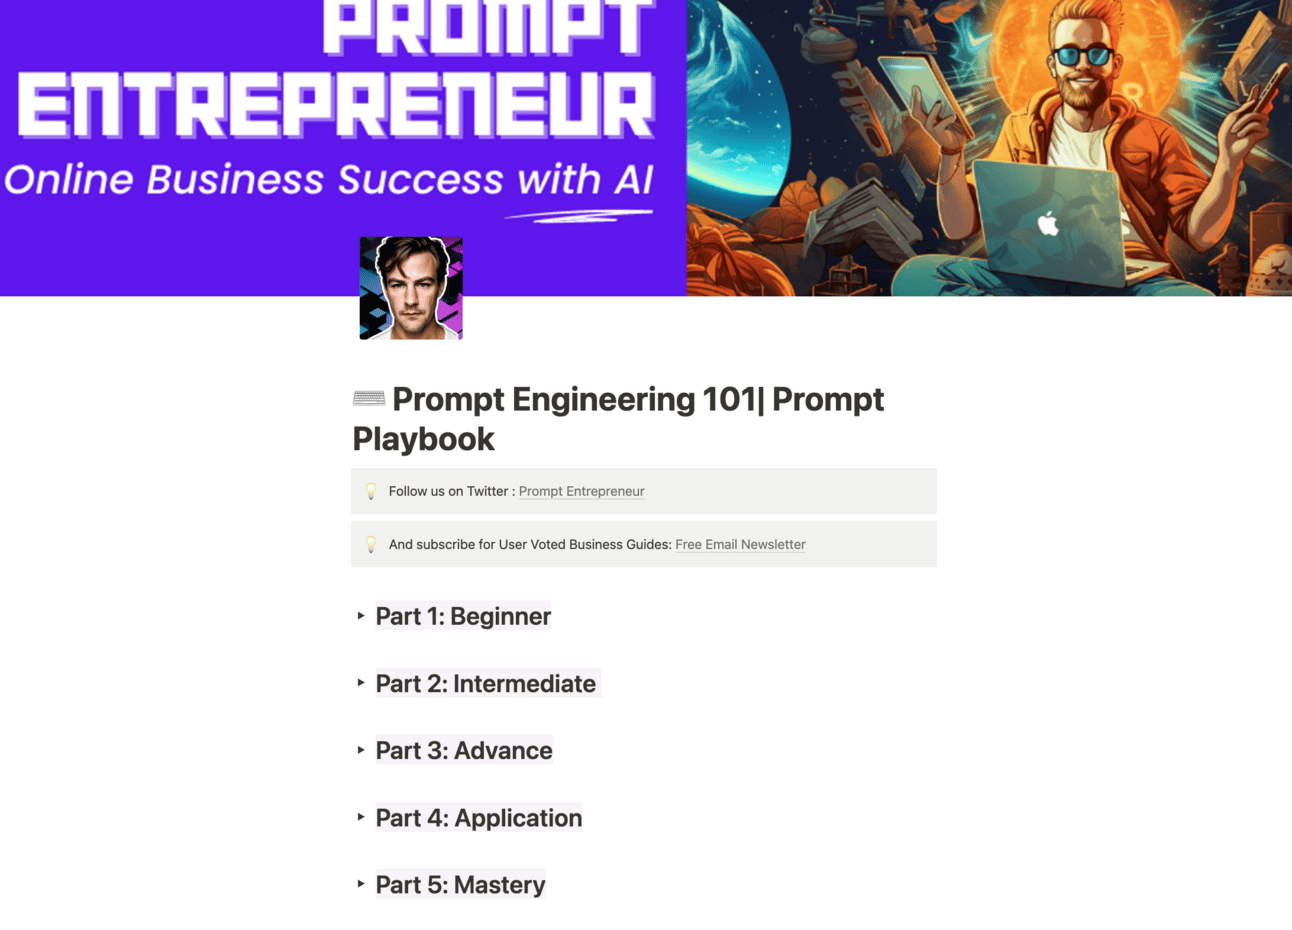
And here’s a link to a live version so you can get an idea of how it feels:
If you are happy with the look and feel of Notion then here’s how to get stated.
First up go and get a Notion account. It’s free. You can register here: https://www.notion.so/signup
Notion is available in your browser, on your phone or via a downloadable app on your computer. I use all three.
For this task I recommend the downloadable desktop app as the best place to work.
Once you have an account and the app go ahead and create a new Page either by clicking the + in the sidebar or typing cmd/ctrl + N.
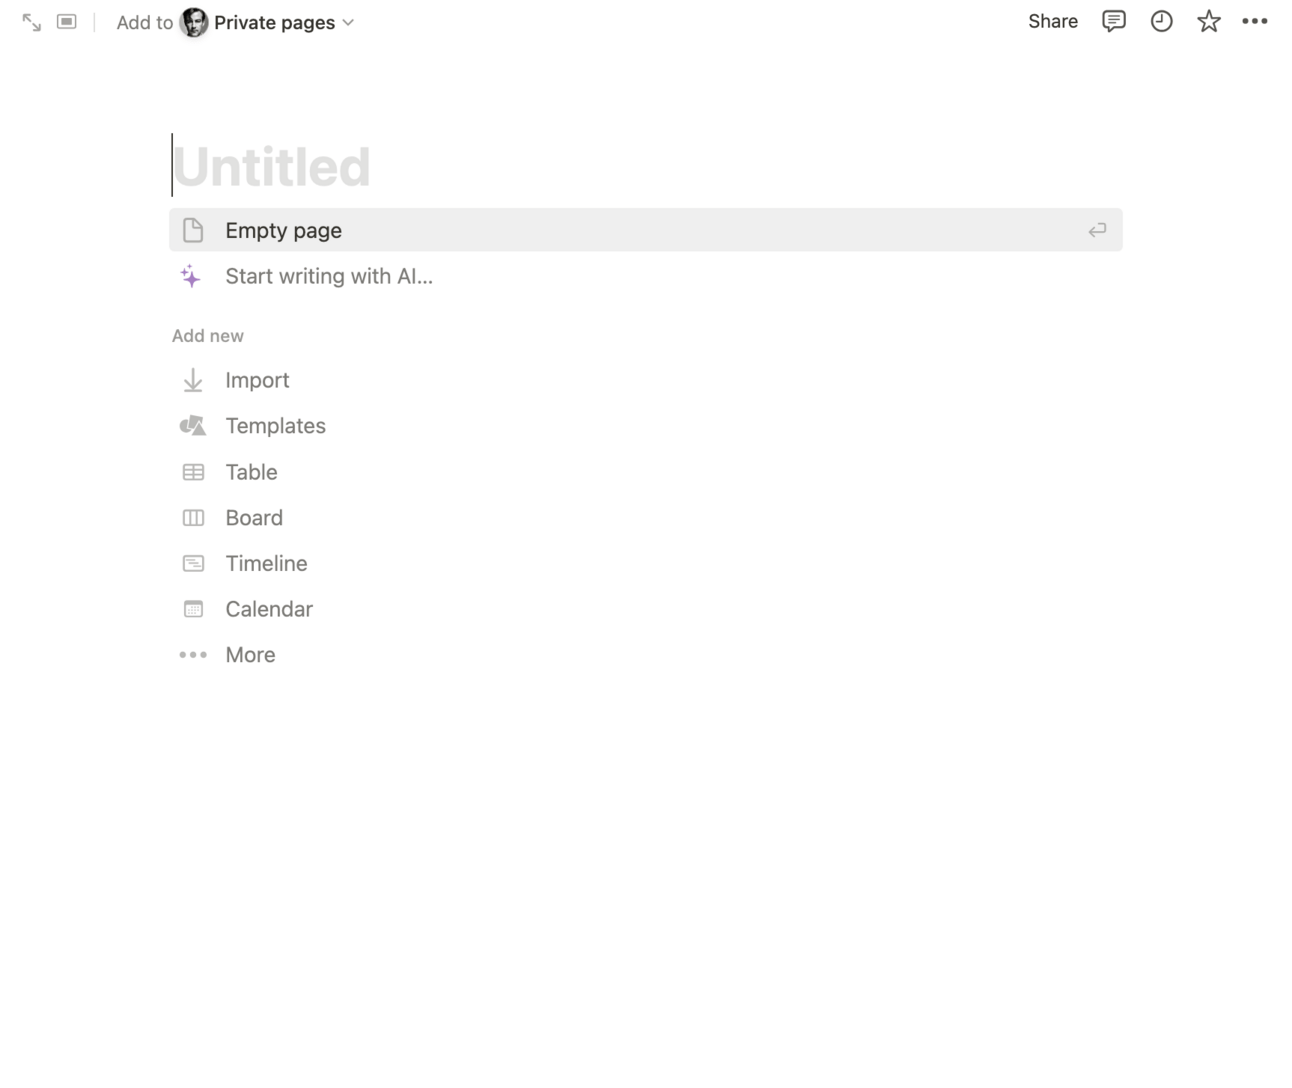
The interface itself is very similar to Word or any other word processor.
Give the document a name (your product name) and start to copy paste all the text over from ChatGPT.
You’ll notice ChatGPT’s formatting isn’t great – you’ll need to adjust the headings yourself.
Do so by clicking on the dots next to any element (header, text etc.) and selecting Turn Into.
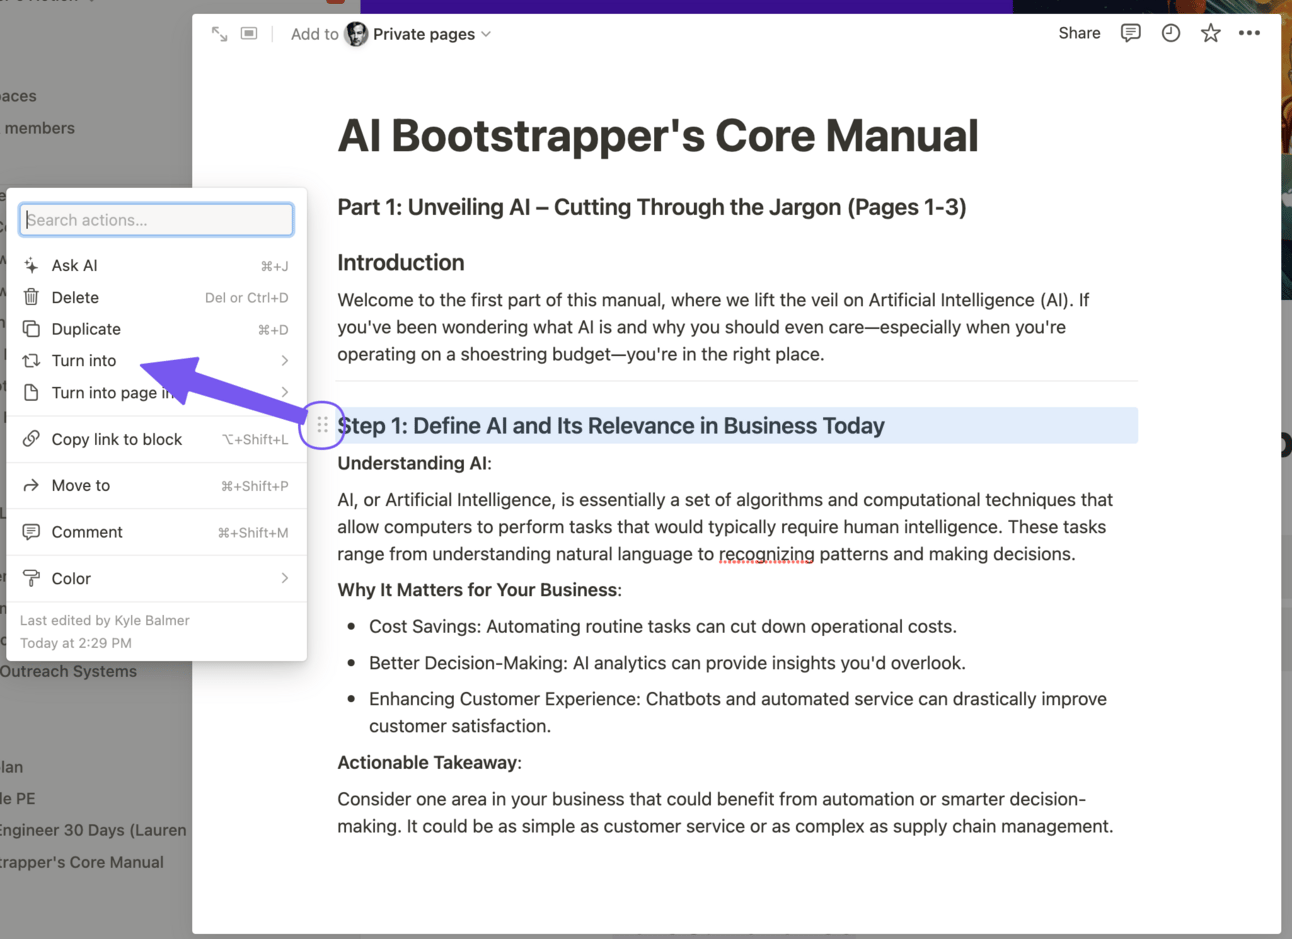
Turn Into allows you to change any element in Notion into something else – text, a header, bullet point or even another page (creating a new page and adding a link).
Just work through and rewrite and reformat all your text to your liking.
Feel free to add screenshots and graphics if relevant. Canva is always your friend for creating graphics.
Once you are happy with the product you can publish. This is where Notion is very handy – we can publish directly to the web without having to have a website.
Click Share, tab to Publish and then click Publish to Web:
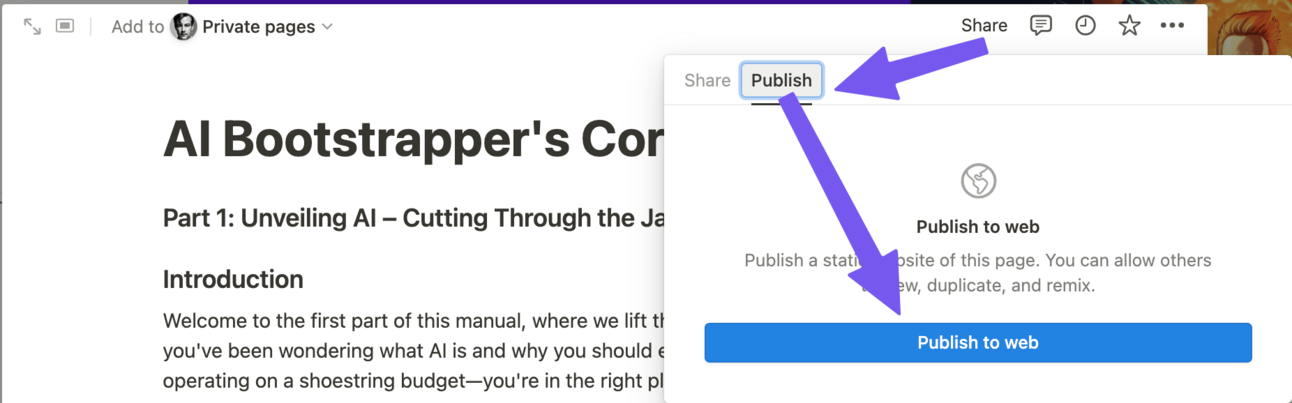
This will publish to the internet and make it publicly available to anyone who has the link. They do not need to have a Notion account to access your document.
You can also adjust the privacy settings:
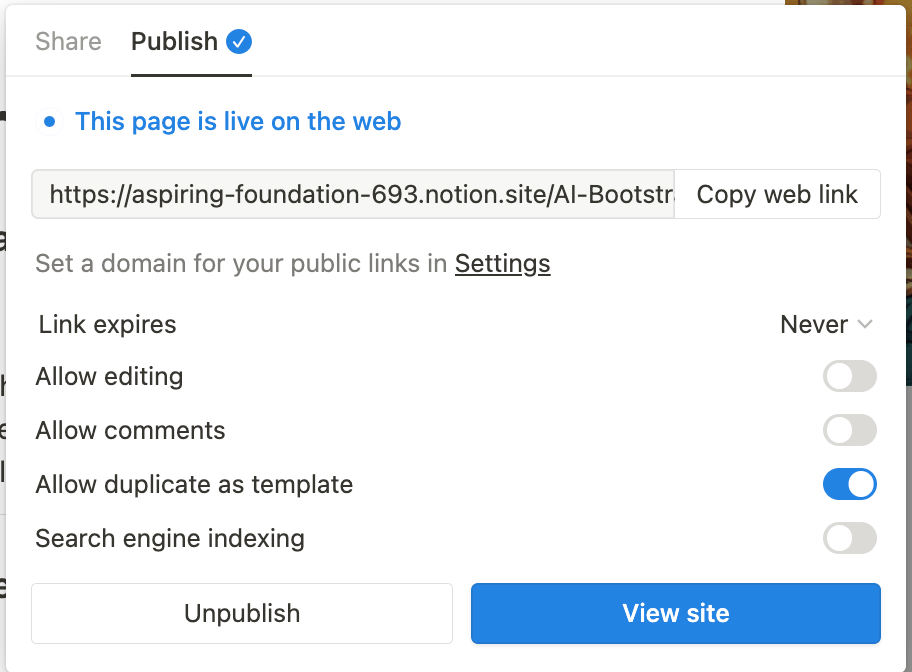
These are my settings for most products.
You might want to turn off “allow duplicate as template” to stop people making local copies too. That’s up to you. If it’s a calculator, spreadsheet or similar tool where the user needs to enter information then make sure to allow them to make duplicates.
In the next Part I’ll show you how to sell this Notion document using Gumroad.
Pulling it together
Following these steps you should now have your first basic product. Continue to create all the individual components until you have the whole package ready.
It’s important to keep early (tier 1) products as simple as possible. Do not write a full book. Do not record a full video course. Do not code a full tool.
We want initial products to be lightweight and fast so that we can launch as many as possible as quickly as possible.
This allows us to see what resonates and what does not. Once we’ve got a hit on our hands we’ll expand it.
In the next Part we set up our shop and prepare our first product for launch.
A reminder of this week:
Part 1: Plan your digital product
Part 2: Build your digital product
Part 3: Set up shop
Part 4: Market your digital product
Part 5: Expanding your product range