Introduction
Imagine having a private army of workers.
Each specialised at doing one task that you hate doing.
All humming along working together.
That’s the goal today.
We’re moving up the levels of AI again. This next level is Custom GPTs.
Are you ready to build an army of agents working for you?
First up a word from our sponsor:
Brought to you by Dittto.AI
Fix your hero copy with an AI trained on the best landing pages. Easily generate high-conversion hero copy in a few clicks – for free.
Let’s get started:
Custom GPTs
We’re moving to the 3rd level of AI today: Custom GPTs.
Custom GPTs are like mini-AIs built for specific tasks.
ChatGPT has a GPT Store where you can find what others have built:

There are lots of fun tools here but what we need are GPTs built specifically for our business.
Anything another person builds won’t match our exact needs. Thankfully we can easily deploy a Custom GPT ourselves.
Which GPTs to build?
Do not build Custom GPTs just for the sake of it. Even if they are cool.
Getting one optimised takes time.
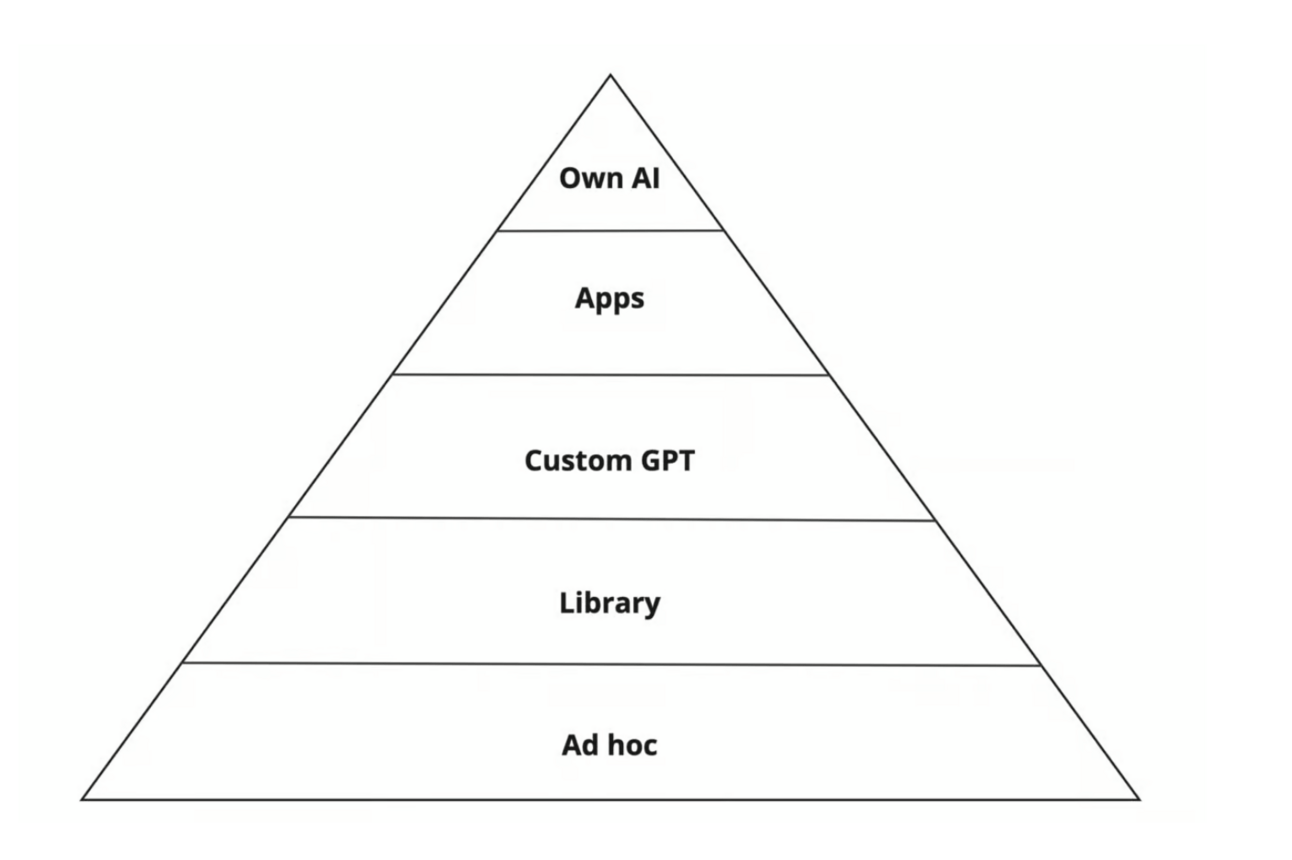
Remember this chart?
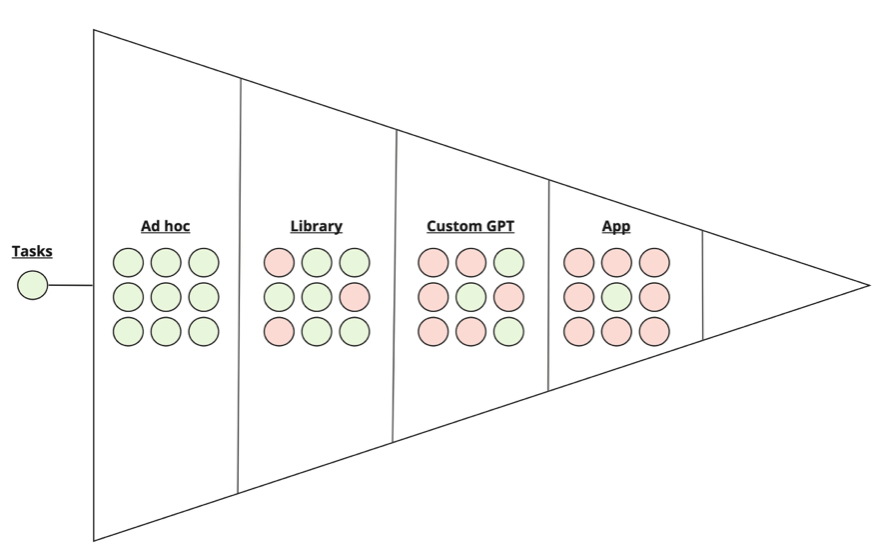
We started with tasks like writing blog articles, drafting press releases or answering customer service inquiries.
We initially used ChatGPT in an ad hoc way to deal with these tasks. And as time passed we realised that the same handful of ad hoc prompts had to be used again and again.
These most used prompts we added to our Library. We polished them to make them as efficient as possible and then stored them in an easy to use system like an Excel sheet or Notion document.
Now that we are building Custom GPTs we will follow the same basic pattern.
If there are library prompts that we use again and again and again let’s convert them into Custom GPTs.
We’ll use the blog writing example from before.
Getting Started with Custom GPTs
First up is finding the interface. It’s a little hidden.
When in ChatGPT Plus go to Explore GPTs and then Create (in the top right). Alternatively go directly to this link.
This’ll bring you to this interface:
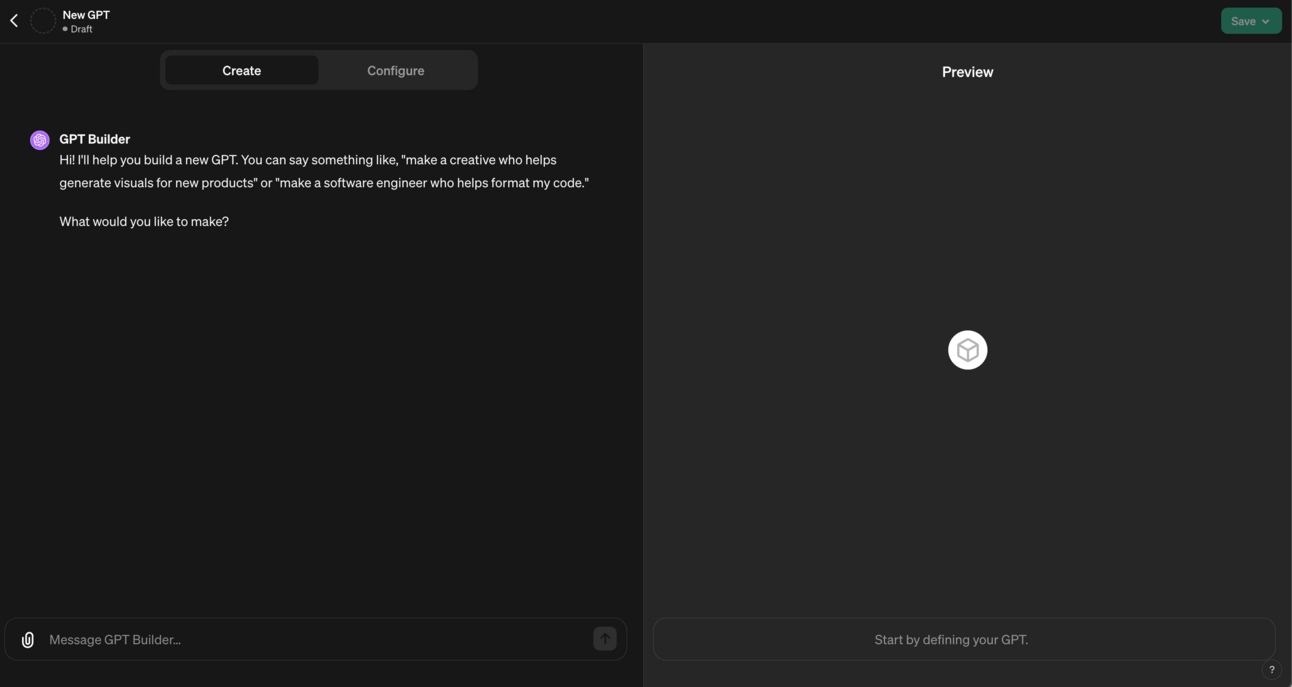
The main thing to note here is that you basically have two standard ChatGPT interfaces: one on the left, one on the right.
The one on the left is for creating your Custom GPT.
The one on the right is for testing your Custom GPT.
You’ll move between the two. Adding instructions on the left and testing the final product on the right. And then looping back to the left to add corrections and additional information.
It’s a lot like the prompt engineering we’ve already been doing. We are still talking to an AI. Now we are just doing so to make another AI!
First things first
ChatGPT will want to know the name and basic usage of your Custom GPT. It will also want to generate a picture for you.
Just follow the questions and let it get all this done. Otherwise it’ll keep bothering you!
Keep answering the questions with as detailed answers as possible until you get to a question like “How else can I improve results?”
At this point grab your library prompt from the last Part and bring it to the create screen. Type this:
Here is a prompt that captures what I wish this Custom GPT to do.

[copy/paste prompt]
This will feed all the work you’ve previously done using and polishing this prompt into the Custom GPT.
Once it’s ingested this information go ahead and test it using the panel on the right hand side.
For this particular blog-writing Custom GPT for example I’d type “please write a blog article on the topic of” whatever topic I wanted an article on.
The Custom GPT is primed to use the information I’ve fed into it already and will complete the task following those instructions.
Solid work – the Custom GPT is ready.
Why use Custom GPTs?
OK great you might be thinking. That’s kinda cool.
But…why don’t I just copy in my library prompt each time I need a blog article like this?
Why do I need to make a Custom GPT for this?
The answer: workflows.
We can chain Custom GPTs together and “call” on them within ChatGPT.
Let’s say I have a task that looks like this:
- summarise an news article
- write a blog article using the summary
- check the blog article to make sure it matches my tone of voice
This process has 3 discrete tasks.
I can make one Custom GPT for each task.
I’d have a SummaryGPT, BlogWriterGPT and ToneOfVoiceGPT for example.
I can then “call” on these GPTs one at a time within ChatGPT .
I do this by typing @ and then selecting the GPT I want to use.
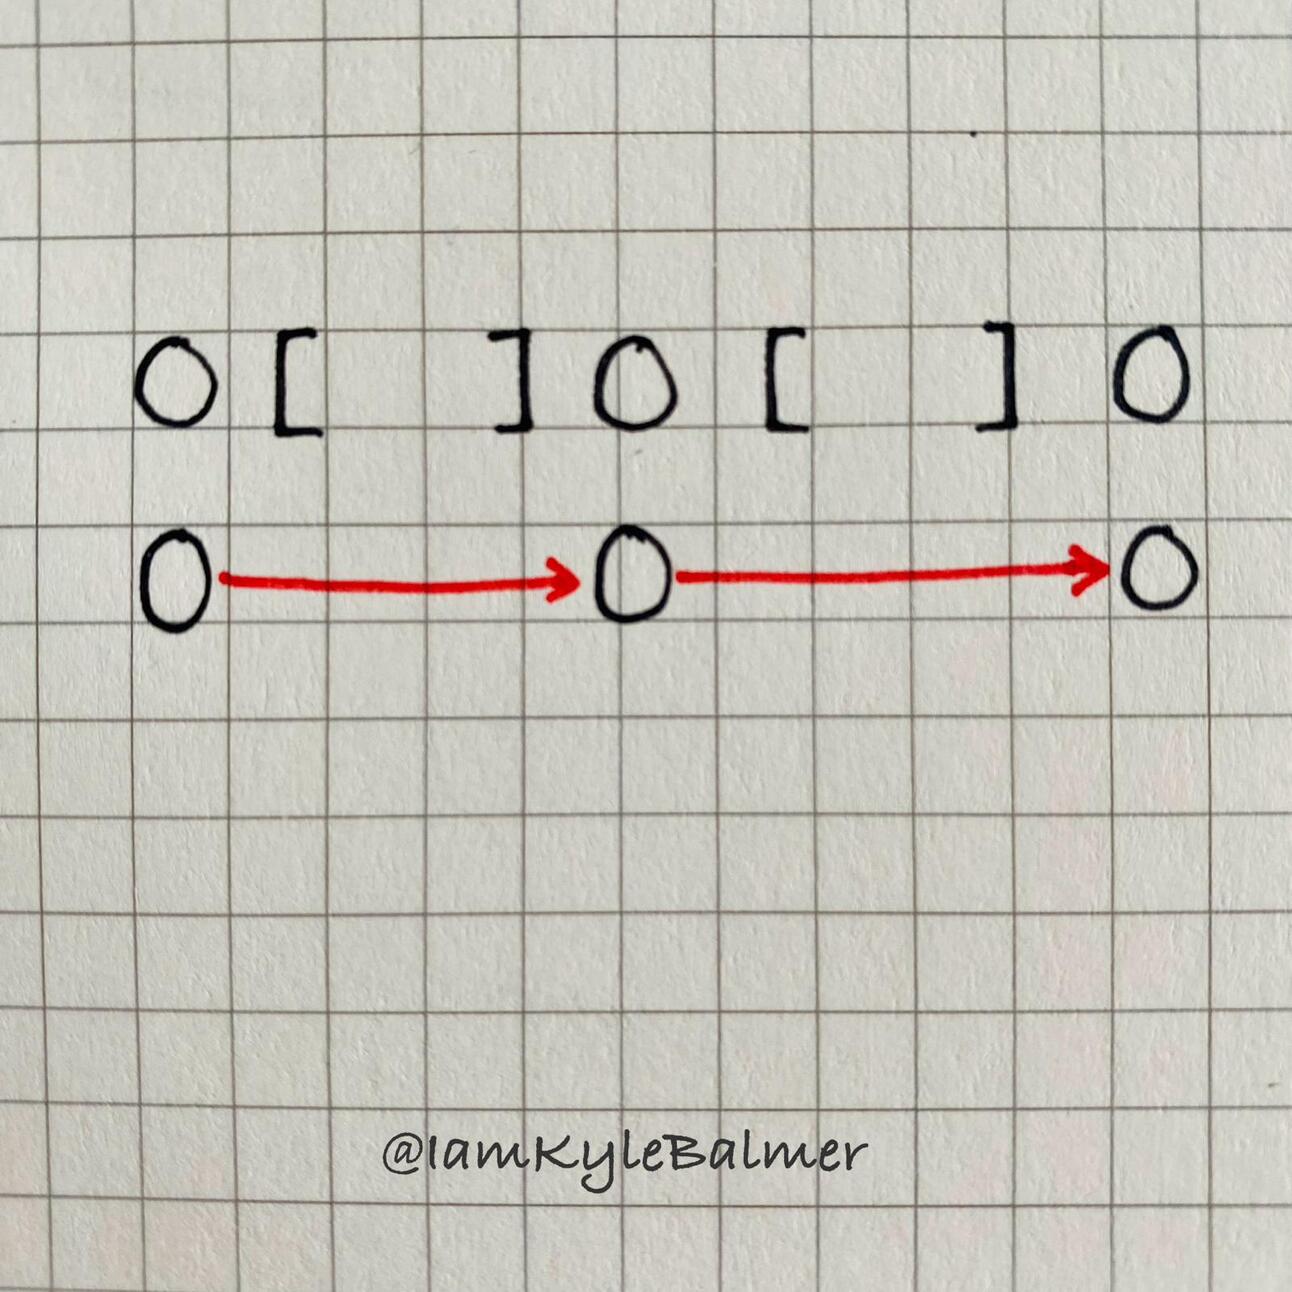
It looks like this:

This let’s me flow information all the way through, from one step to the next.
- I’ll give SummaryGPT a news article. It’ll summarise it for me.
- I’ll take the output of SummaryGPT and feed it into BlogWriterGPT as the input. It’ll generate a blog article for me.
- I’ll then feed that output of BlogWriterGPT into ToneOfVoiceGPT as the input.
Instead of me juggling multiple prompts I can quickly call on these separate Custom GPTs and quickly chain together workflows.