Hey Prompt Entrepreneur,
This week we’re looking at X Growth using AI.
We’re going to look at how to carve out a niche, create unlimited content, engage with the X community, grow a base of followers and finally monetise.
Over the week we’re going to go into detail about:
Part 1: X Niche
Part 2: X Content Creation
Part 3: X Engagement
Part 4: X Growth
Part 5: Monetising X
Let’s get started:
X Niche
1. Niching down
One of the most fundemental tasks when growing any audience is niching down to an area that we can dominate.
It’s tempting to want to wade in and be “the marketing guy” or “the AI” guy.
But guess what: those spaces have been claimed. Wanting to be the next Gary Vee or Grant Cardone whilst currently being at 0 followers is a fool’s game.
Instead we want to carve out our own space online where we can truly dominate. Once we take over that space we can look to expand up through niches.
For example, using myself, I’m focusing on:
- helping entrepreneurs leverage AI as a tool to start and grow online businesses.
It’s not
- AI or
- online business or
- entrepreneurship
Instead it’s a combination sitting between these larger niches.
You need to do something similar to find a space that is i) large enough to be worthwhile and ii) small enough for you to make an impact.
You’re looking for a Goldilocks zone.
To do this generate three lists
- What you love doing, your interests and hobbies
- What you are good at, your skills
- What you get paid for, you work experience and qualifications
And answer these questions
- What problems have you dealt with and overcome?
- What problems can you help others overcome?
- Where do you live?
- What’s your demographic?
Act as a Twitter expert.

Help me to define my niche online. Use the concept of ikigai to help me find a niche. It should not be so large that I will be unnoticed - it should not be so small that I cannot monetise my audience.

Ask me the following questions, one at a time.
1. What do you love doing, your interests and hobbies? Minimum 5 items.
2. What are you good at, your skills? Minimum 5 items.
3. What do you get paid for, you work experience and qualifications? Minimum 5 items.
4. What problems have you dealt with and overcome?
5. What problems do you help others overcome?
6. Where do you live?
7. What is your demographic?

Use the information to generate 10 potential niches for me. Give details of each niche, the sort of topics involved, the potential size of the niche, the monetisation potential of the niche. Provide in a table.
Plug in this prompt and then go through the process with ChatGPT. ChatGPT will ask you questions in a sequence, coaching you through the process.
The more information you provide the better the output – so be sure to go into lots of details.
Prompt Output 💬
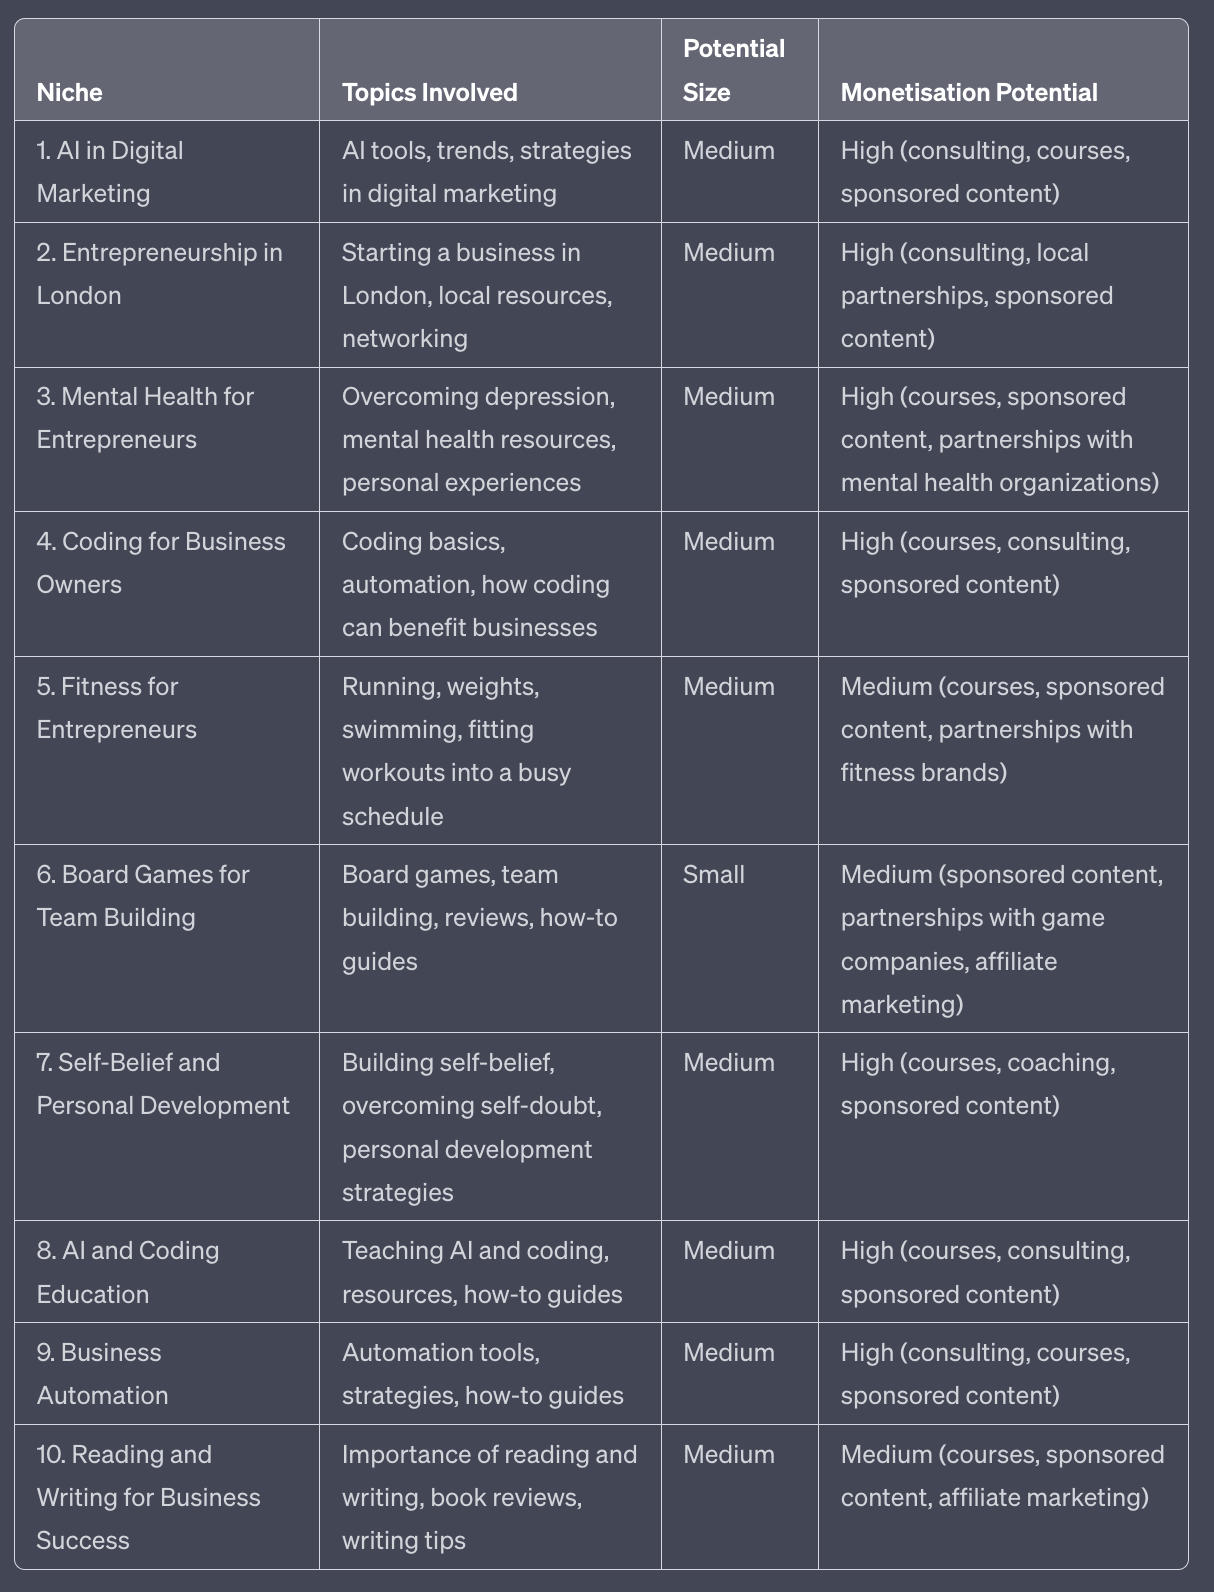
Here’s an example output. ChatGPT will spit out 10 potential niches along with some supplemental information.
The idea here is to give you ideas for your niche to get started.
Whilst it’s important to carve out a niche you don’t need to get it perfect right now. It’s much better to get started and tweak as you go along.
The reason for this is that you don’t know how audiences will react to you until you get started – how successful your content is will be used to guide our niche as we go along.
So for now choose one that sounds good and move on. We will refine our niche and positioning as we go along – in fact in Part 4 I’ll discuss exactly how we do that.
As always – if none of these sounds exciting ask ChatGPT for more potential niches. Or go back to the beginning of the process and fill in more details whilst going through the process this time.
2. Finding similar accounts and add to Lists
Armed with a basic niche we now want to see what others are doing in that space.
We do this for a number of reasons
- For inspiration about what sort of content works
- For targeting who we will be interacting with
- For learning and emulating best practices
Numbers 1 and 2 we’ll be looking at in Parts 2 and 3 of this guide.
Right now we’re looking at other accounts in the space in order to learn and emulate best practices.
At this point I recommend you go ahead and set up a handful of X Lists. We’ll be using these later so we may as well set them up now.
You will need an X account to do this. Go ahead and set one up if you don’t have one. You can change your username later so don’t worry too much about the name, bio or any other account details. We’ll cover those.
First head to Lists in the Desktop or App version of X.
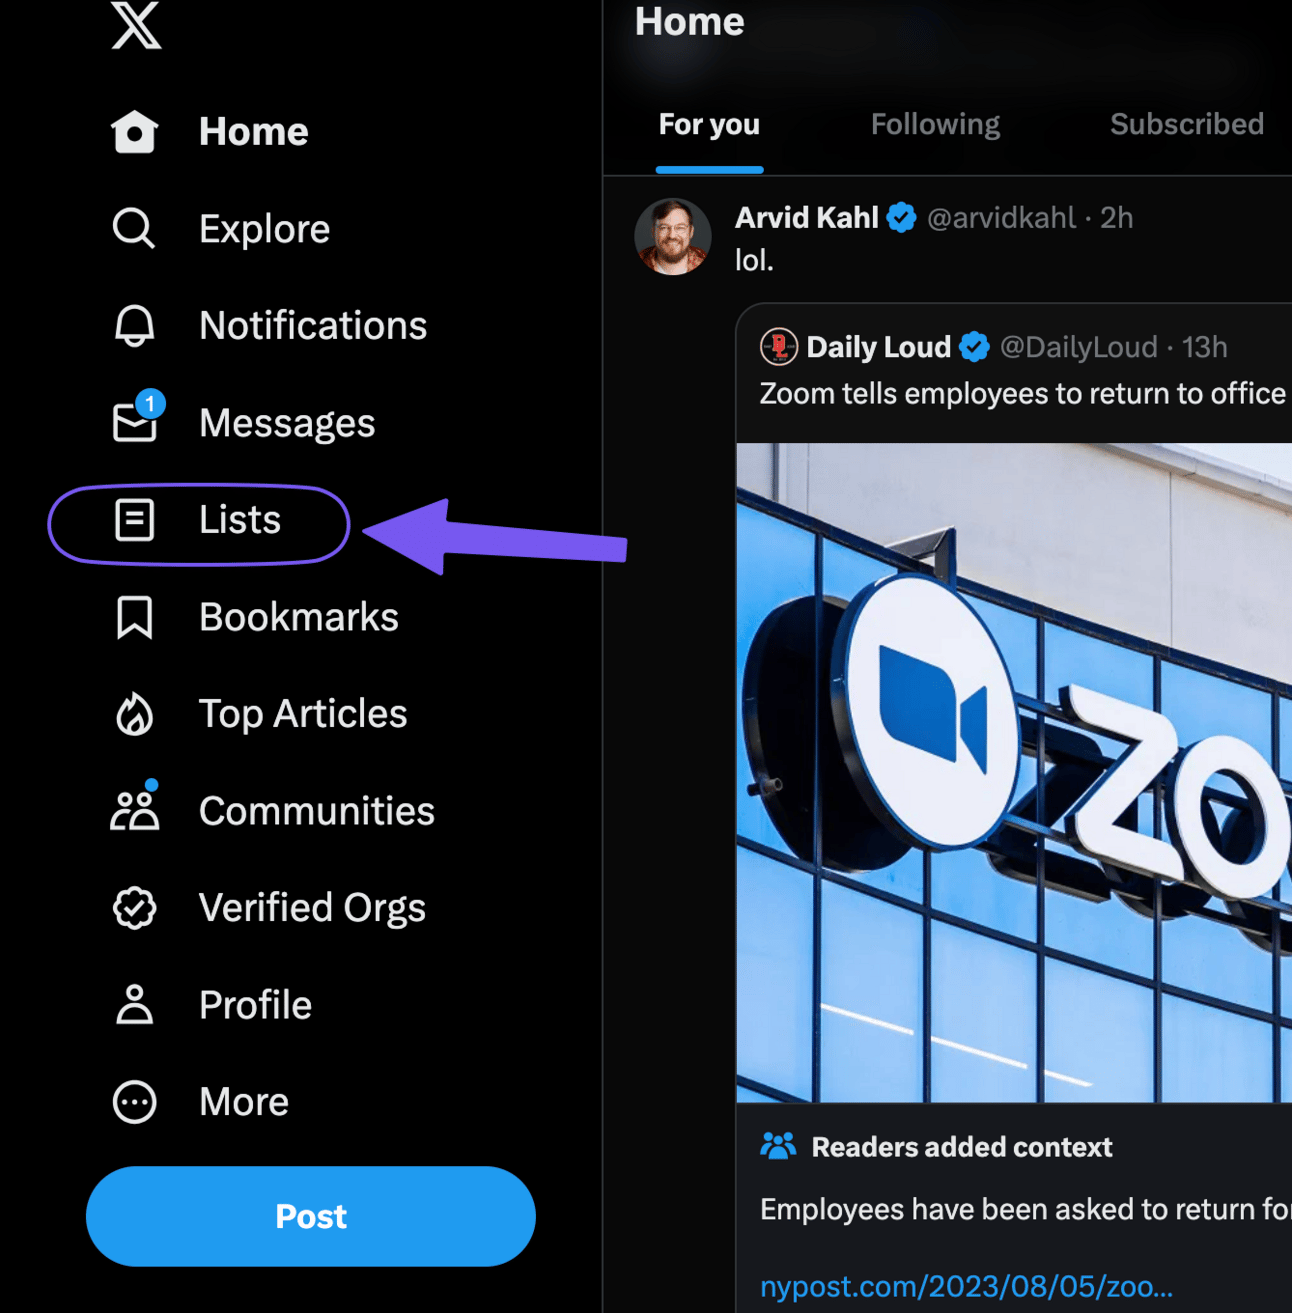
Click Create New List on Desktop or the Create List button in the bottom right of the App screen.
Create a handful of lists. My recommendations here:
- Under 10k
- 10k-50k
- 50-100k
- 100k+
These are lists for different size accounts. Under 10k is people with under 10,000 followers – ie. Small. Over 100k would be considered “large”.
I personally make my Lists private because these are used specifically for engagement and growth later.
We want to use these different lists to collect up accounts at different stages of their growth. The basic idea will be that we’ll start with engaging with smaller accounts at the beginning and then move from category to category as we grow. We’ll go through in a lot more detail later – for now it’s just handy to have the Lists in place whilst we do this preliminary research.
Next up, we want to start to find other accounts in the space and begin to follow them.
ChatGPT, Claude2 and similar AI models will do a decent job of giving you some accounts to follow. Use a basic prompt like “give me 30 twitter accounts to follow in the ‘AI in digital marketing’ niche” to generate a basic list.
However, due to the fact that training data is not fully up to date in many AI models this information will only get you so far.
Supplement it with a basic Google search for “top [niche] Twitter accounts”. For example “top AI in digital marketing twitter accounts” brings up blog articles and curated lists with account suggestions
Go ahead and follow all of the relevant quality accounts.
Also, add the accounts to their respective List.
To do this
- On their account hit the … in the top right of the screen.
- Click Add/Remove from Lists
- Tap the List you want to add them too. A tick should appear next to the List.
- Hit back.
Also, whilst you are on the account look at their Lists.
- On their account hit the … button
- This time click View Lists. This will show you any Lists they have curated. Look for ones relevant to your niche
- In the list click Members to see the full list
- Follow any relevant accounts from the List.
Here’s an example in AI:

This is a List by @mreflow (Matt Wolfe). He’s already curated 476 other accounts in the AI space. And that List is public.
By clicking on the 476 Members near the top I can see all the accounts and choose to follow some of them. When doing this make sure to also sort them into your own Lists that you made before.
Continue this process of finding relevant quality accounts in your niche until you’ve followed and categorised a few hundred into Lists.
Following them means you’ll also be getting their content in your main feed so you’ll be able to see what they are up to – this will be vital as we move forward. Begin to read, absorb and monitor what everyone else is doing.
Before we start creating anything ourselves though we need to get our profile set up.
3. Writing your Bio
Next up we want to use the best practices of similar sized and slightly larger accounts.
We don’t want to try to emulate massive accounts because, well, we’re not massive yet!
What works for them will not be the same as what works for us.
Instead we want to find best-in-class smaller accounts that are around our size or slightly larger.
When starting a new account I like to look at the accounts of others that are around the 10,000 follower mark. These are larger but within reach and thus good models.
Using your lists find 5-10 quality accounts in the space with around 10,000 followers. It doesn’t need to be exact.
How do you know they are quality? Look at their engagement.
If they are at 10,000 followers and all their posts get a few thousand views each time it’s generally a good sign. If they are at 10,000 followers and their posts get hundreds of views (rather than thousands) they have low engagement. This is rough but will work as a rule of thumb.
Once collected, copy and paste their Bios into a document. Here are 5 I gathered as an example
- AI Growth Specialist | Electrical Engineer, Ex-Consultant, Ex-Product Manager | Now: Helping you grow your business by leveraging AI →
- Architect ➞ Marketer ➞ Creator | Breaking down tech, people & other cool shit | Get smarter in 3 min with my weekly tech breakdown newsletter
- I talk about Tech, AI, Productivity, Design, Business & Minimalism. Helping you grow with my digital micro products
- Ex-Google Trainer, now your Human Guide to #AI | Mission: Save you 20h/week, simplify complexity, grow your Business/Brand | Overthinker
- 𝕏 | AI Consultant | MBA | Helping Businesses Leverage AI Solutions for 10x Sales, Profits & Efficiency | I Encourage You to Grow & Be Your Best
Once you have gathered a handful of bios from similar accounts doing well in your niche we will use this prompt:
Act as a Twitter expert.

Write 10 bio alternatives for my account.

The the niche is [niche]
Topics involved are [topics involved]

Use these example bios as best practice guidelines for the format.
[copy/paste example bios]
Once you have decided the format ask me supplementary questions to fill in missing information.
Feed in the niche and topics involved from the first prompt. Feel free to adjust this information as required.
Then copy/paste in the bios of the other accounts. This will give ChatGPT a format to follow. This prompt will use this information to decide on the format of the bio and then it’ll ask extra questions to help fill in the gaps.
Notice that the example prompts I gave had a lot about past jobs and experience – they just happened to have had that format in my niche. Yours will likely have different formats.
Because of these examples ChatGPT then asked me:
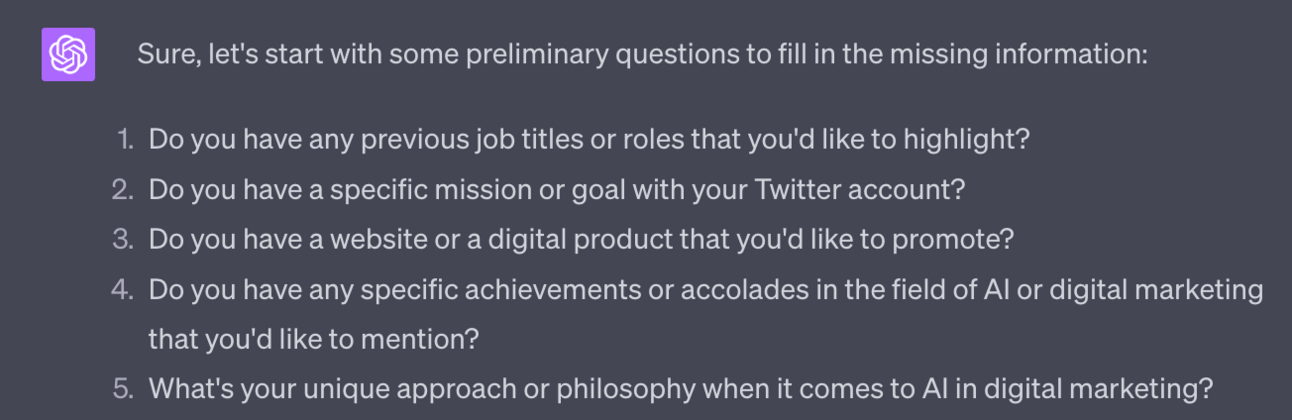
Answer the supplemental questions and then ChatGPT will generate 10x potential bios.
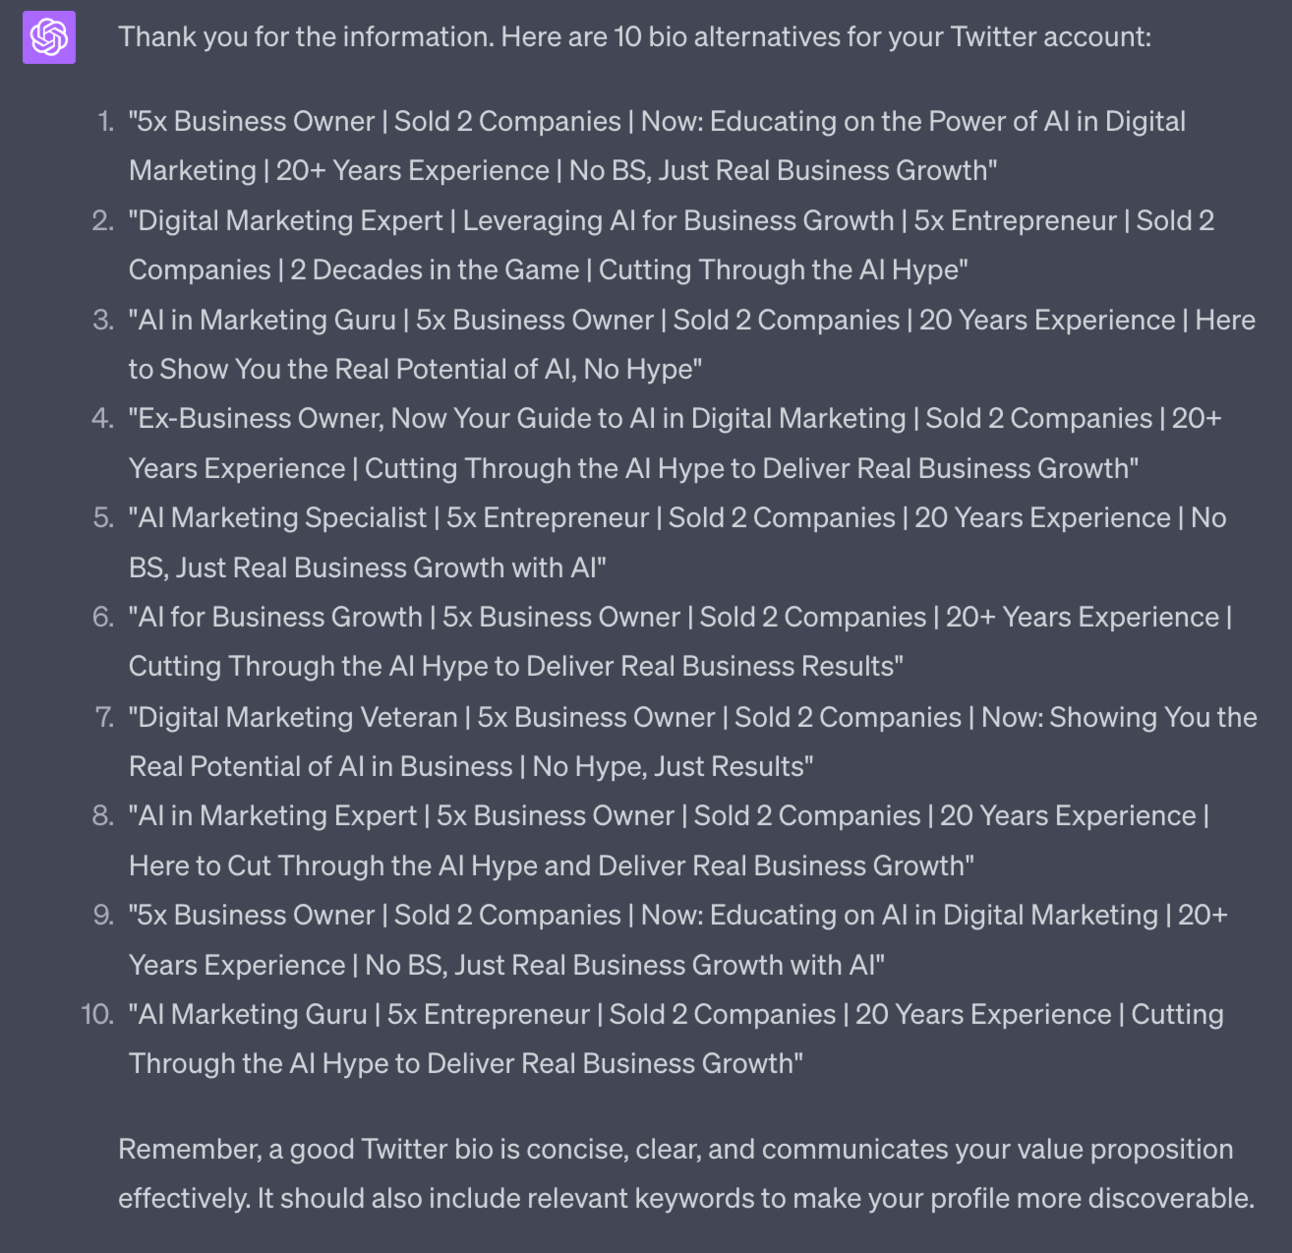
Choose the one you like the most. Unsure? Use a simple follow up prompt like “Analyse these 10 and give me the most impactful. Explain why” to have ChatGPT refine its suggestion.
This gave me:

4. Account name
Now that we have decided our basic niche and have a best practice based bio written we need to name the account.
You may already have a name : great. Go with that.
Or you may want to simply use your personal name or a variation. Perfect. Personal brands are very strong on Twitter.
If you are uncertain of a name though use this prompt for some ideas:
Act as a Twitter expert.

Give me 20 handle options for my Twitter account based on this bio

My personal name is [name]. Use this in some but not all options
Use this prompt directly below your previous Chat about the bio.
Also, delete the section on personal name if you do not want your name involved.
Prompt Output 💬

As always ask for more if required and give ChatGPT feedback on what sort of names you like and do not like.
As you go along make sure to check which are actually available. You can do this using Brandsnag or in the change handle menu inside Twitter (Settings and Privacy > Your Account > Account Information). When happy you can change your handle in Settings.
5. Graphic Design
Last two elements to ready up our account before we start publishing in the next Part.
We need a profile picture and a header image.
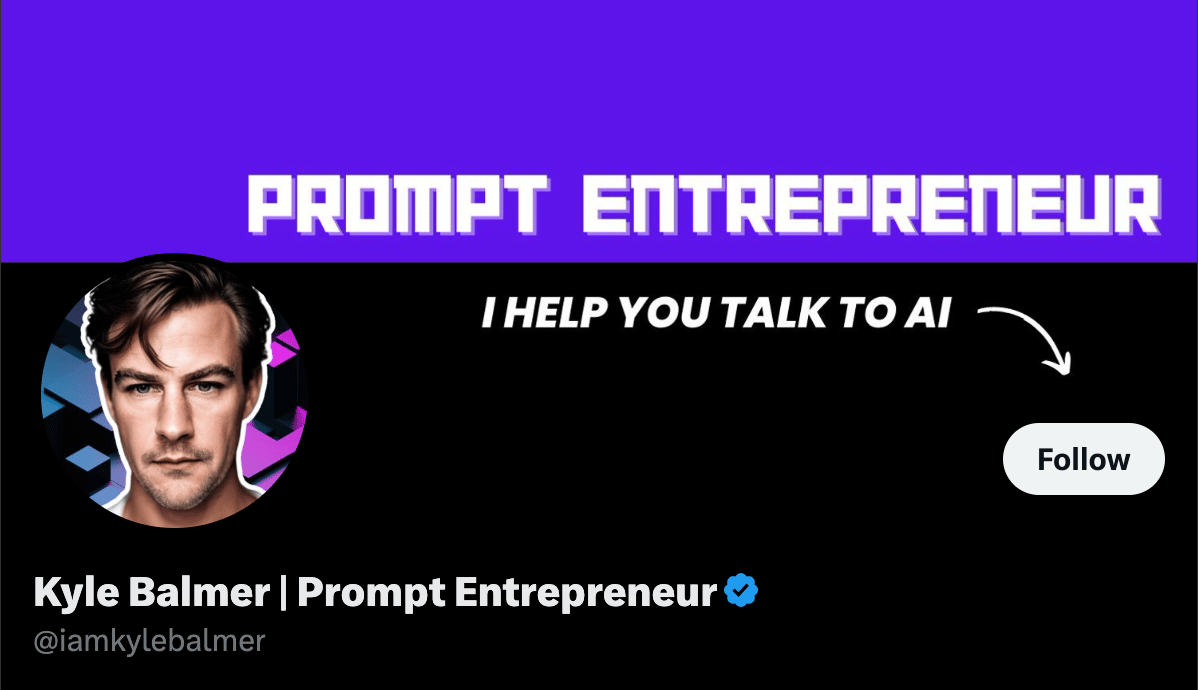
The profile picture is the circular image (with my face!) that acts as your main graphic representation on X.
The header image is the large rectangular image that appears at the top of your Profile. In my case it’s a simple text header with an arrow I’ve got pointing down to the follow button.
For the profile photo I highly recommend you use a photo of yourself. X is a platform where people talk to people.
If you are like me and hate cameras and photos – good news! You can use AI.
That photo of me above right there? That’s AI generated.
I personally used Retrato which is a phone app. You upload 20-30 photos of yourself and it creates headshots. There’s also Headshotpro for more professional photos.
For the header image we’re going to use our good friend Canva. You can use the free version and their numerous templates to create a great looking header image.
Feel free to also work with a designer on these graphical elements. Just don’t get too caught up. Chances are you’ll need to change these later as you start to work out what’s resonating with your audience and what is not. So don’t be precious and don’t let these be an excuse not to get started.
Pulling it together
You should now be in a position where we have the basics of our X account ready to rock and roll.
The purpose of this Part has simply been to get you to a place where you are ready to start creating content without worrying too much about how your account looks, whether you’ve got the right bio and all those other foundational details.
In the next Part we’re going to kick off content creation and get your account rocking and rolling.
Part 1: X Niche
Part 2: X Content Creation
Part 3: X Engagement
Part 4: X Growth
Part 5: Monetising X